Still have questions?
We're here to help you!
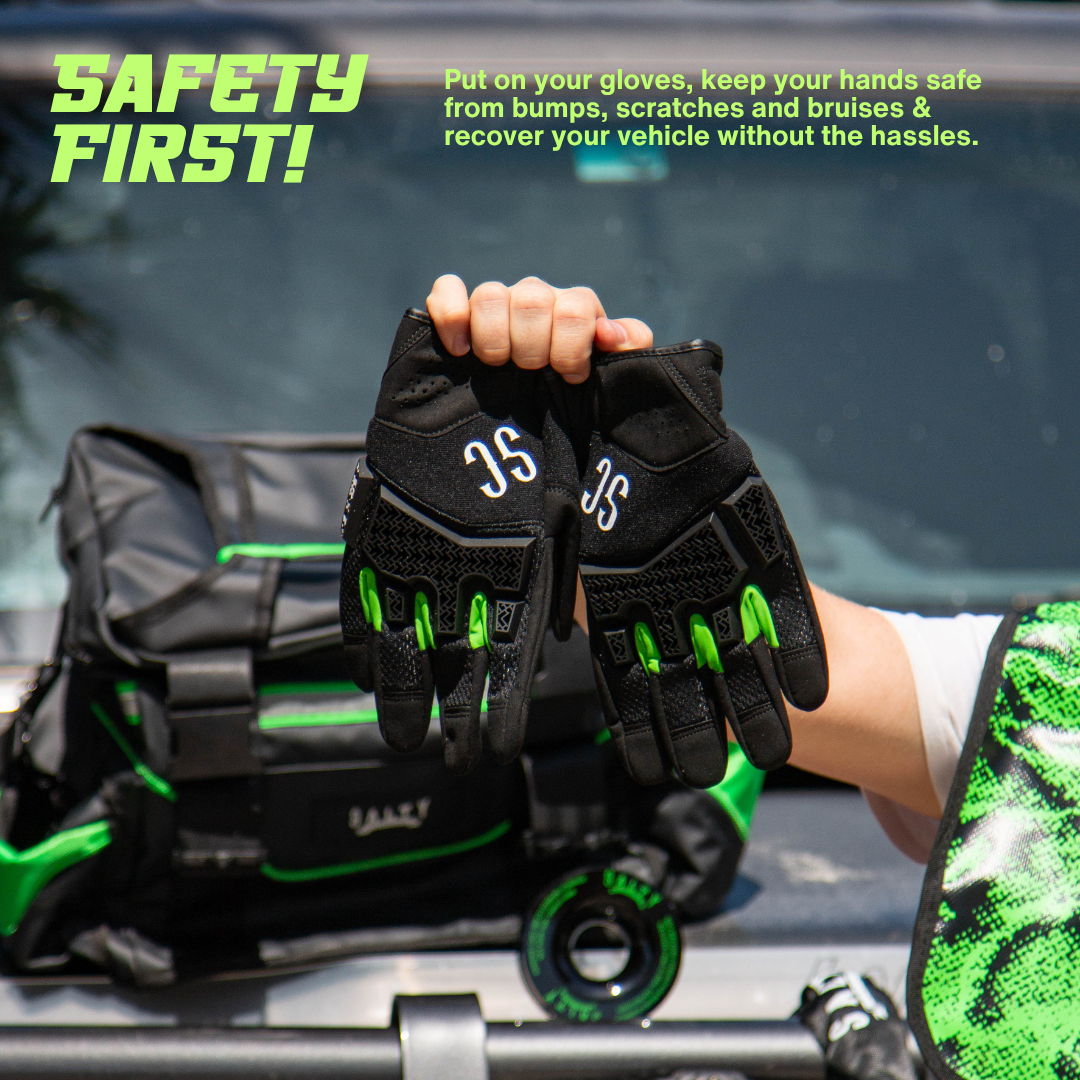

Get ready for anything the trail throws your way.
The Off-road Recovery Essentials Kit combines the must-haves for self-recovery — from precision tyre deflation to reliable traction when you’re bogged. Whether you’re tackling sand dunes, rocky trails, or muddy creek crossings, this kit ensures you’re never stuck for long.
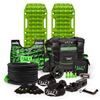
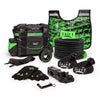
When you’re off-road, you don’t get second chances; you need the gear that gets you home.
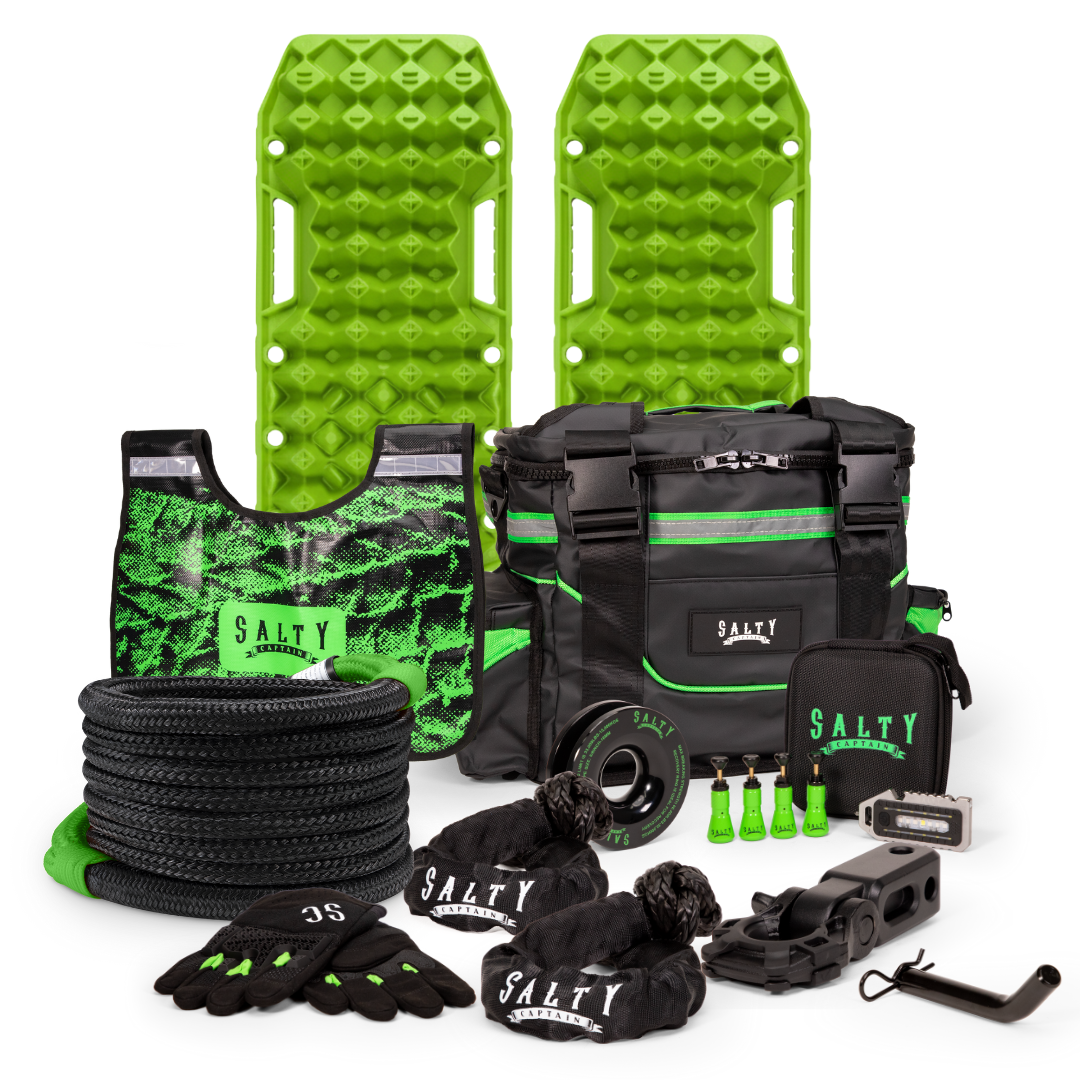
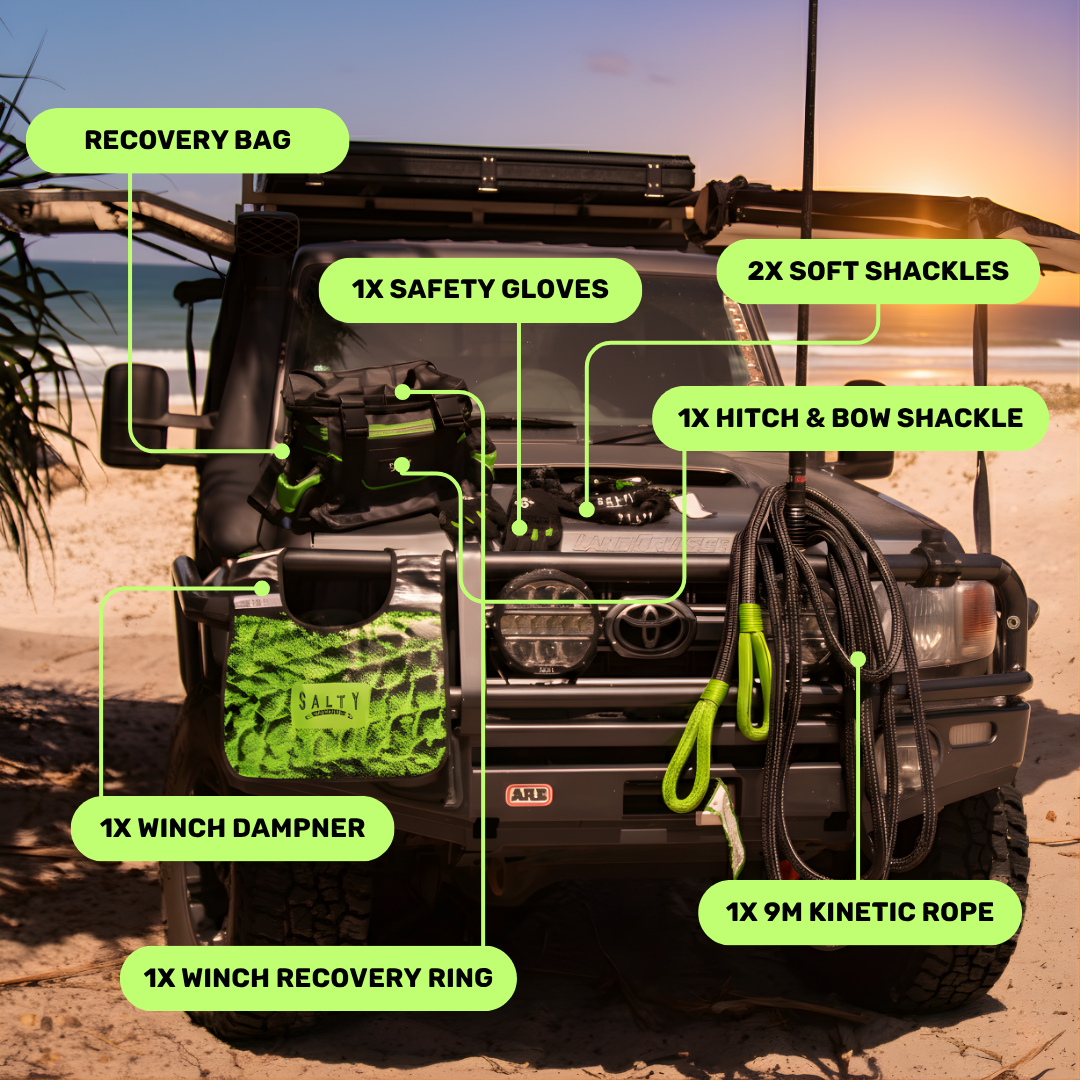
The Raptor Recovery Kit (9pc) combines every essential recovery tool into one premium, ready-for-anything bundle. Engineered for serious 4WD enthusiasts, this kit gives you confidence to explore further, recover faster, and handle any terrain that tries to stop you.
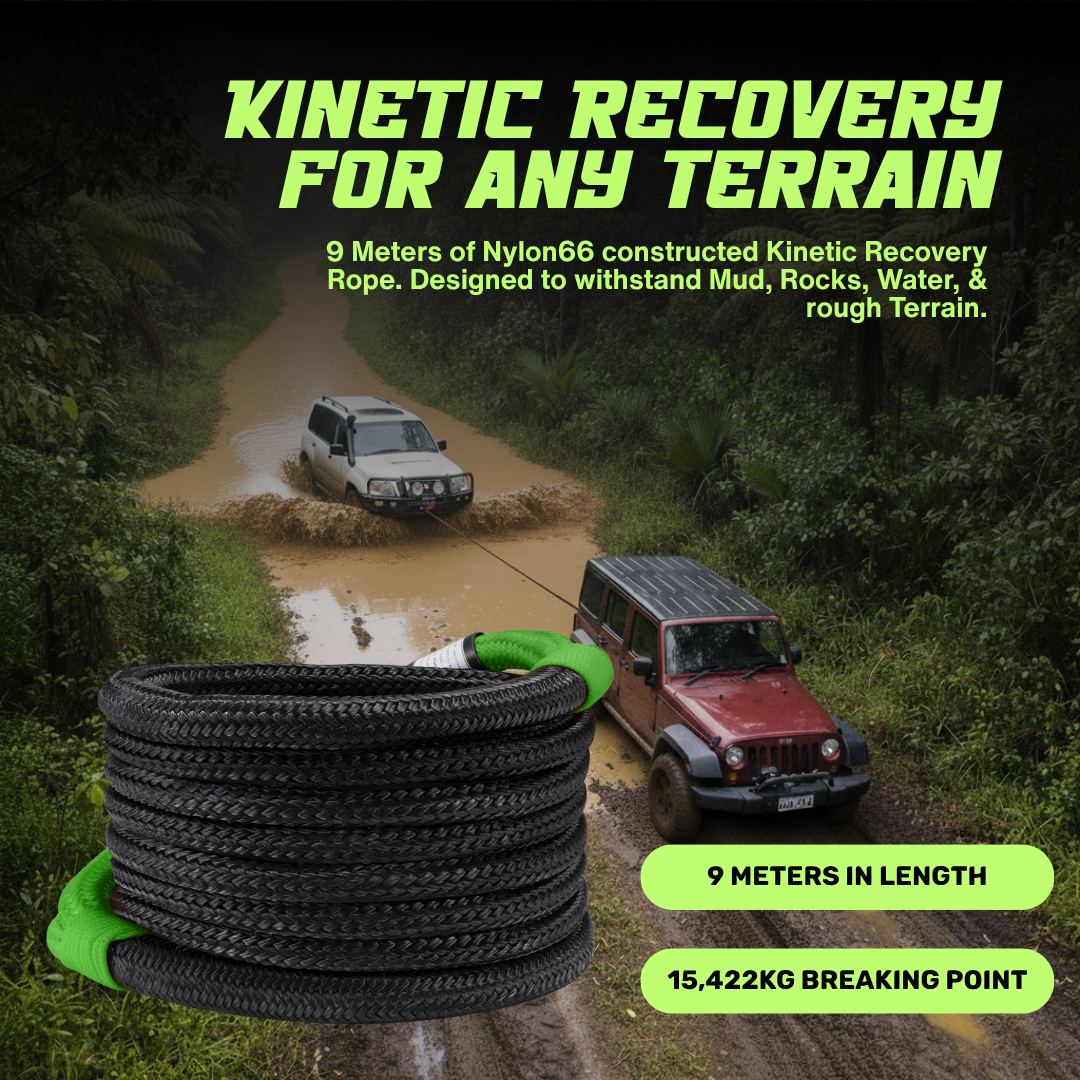
Each component is made from the same high-grade materials trusted across the Salty Captain Raptor Recovery range, from 10-tonne-rated recovery tracks and 13,000kg kinetic rope, to precision brass tyre deflators and UHMWPE soft shackles. Together, they form a complete recovery ecosystem designed for strength, safety, and simplicity.
The value in this bundle comes not only from the quality of the components but also from the convenience of having a fully compatible system. Every item fits, functions, and stores seamlessly within the heavy-duty carry bag. Whether you’re tackling soft sand, sticky mud, or rocky terrain, this kit ensures you’re always prepared.
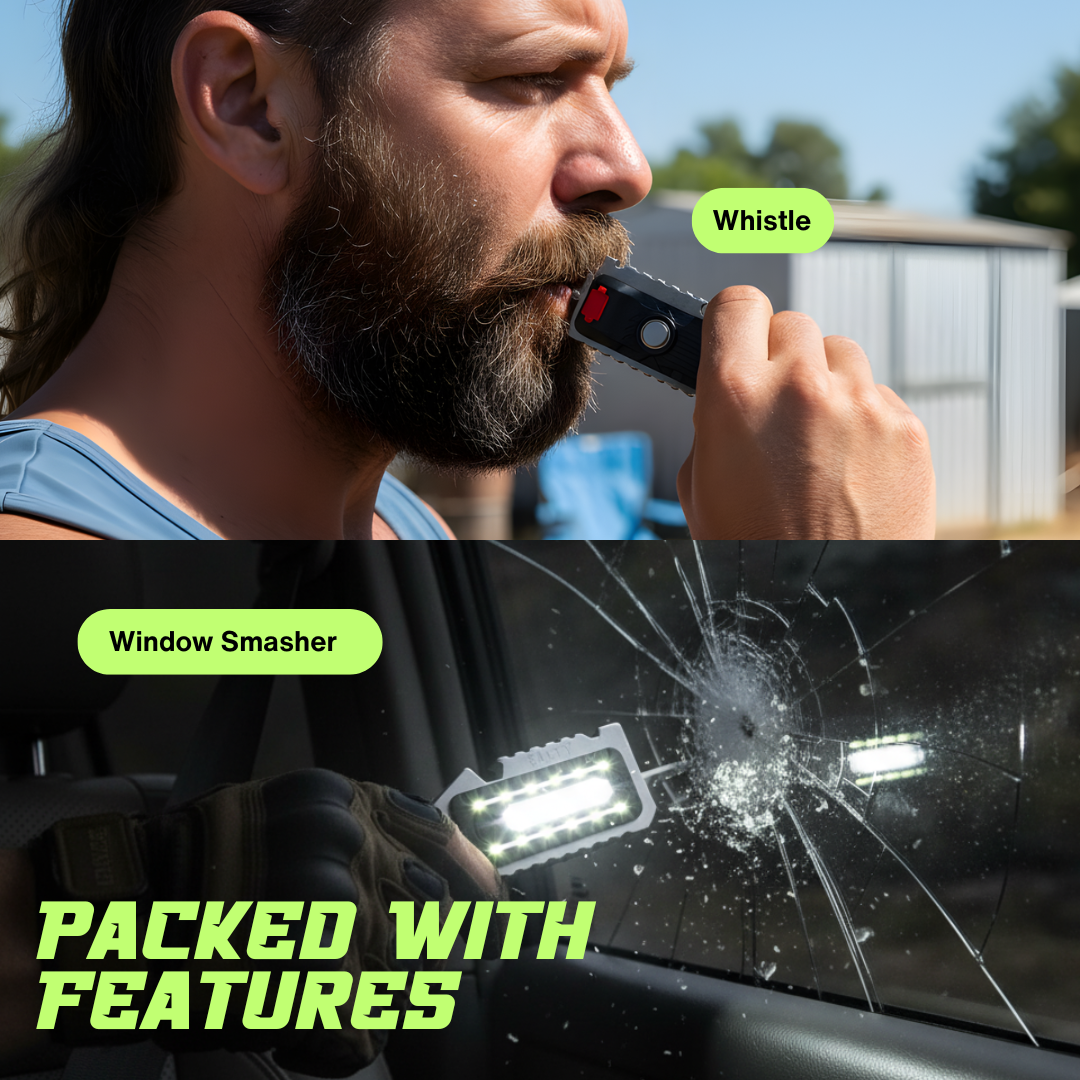
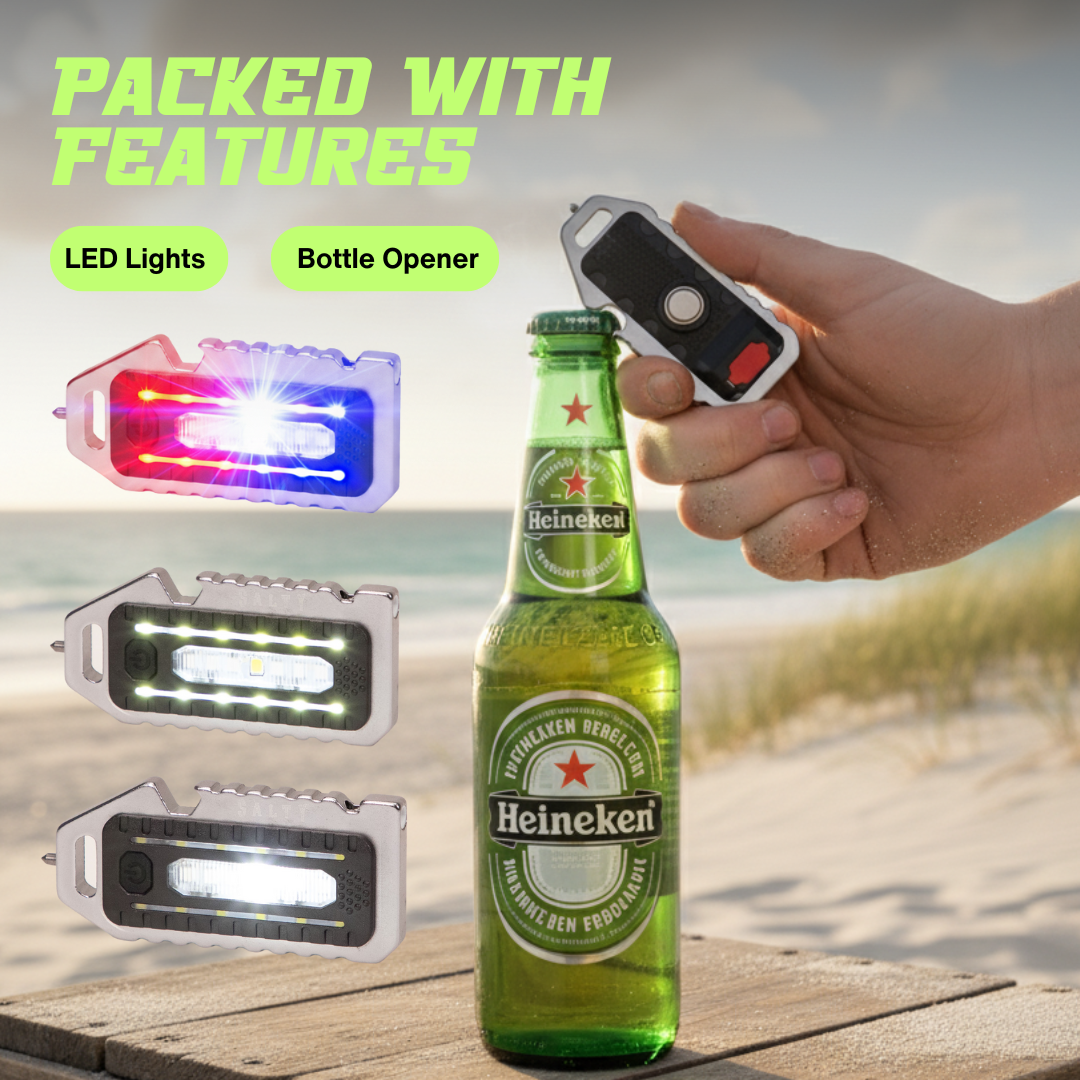
Add in the USB-rechargeable emergency tool with built-in LED light, whistle, and window breaker, and you’ve got more than just a recovery kit; you’ve got peace of mind on every trip.
9m Kinetic Recovery Rope
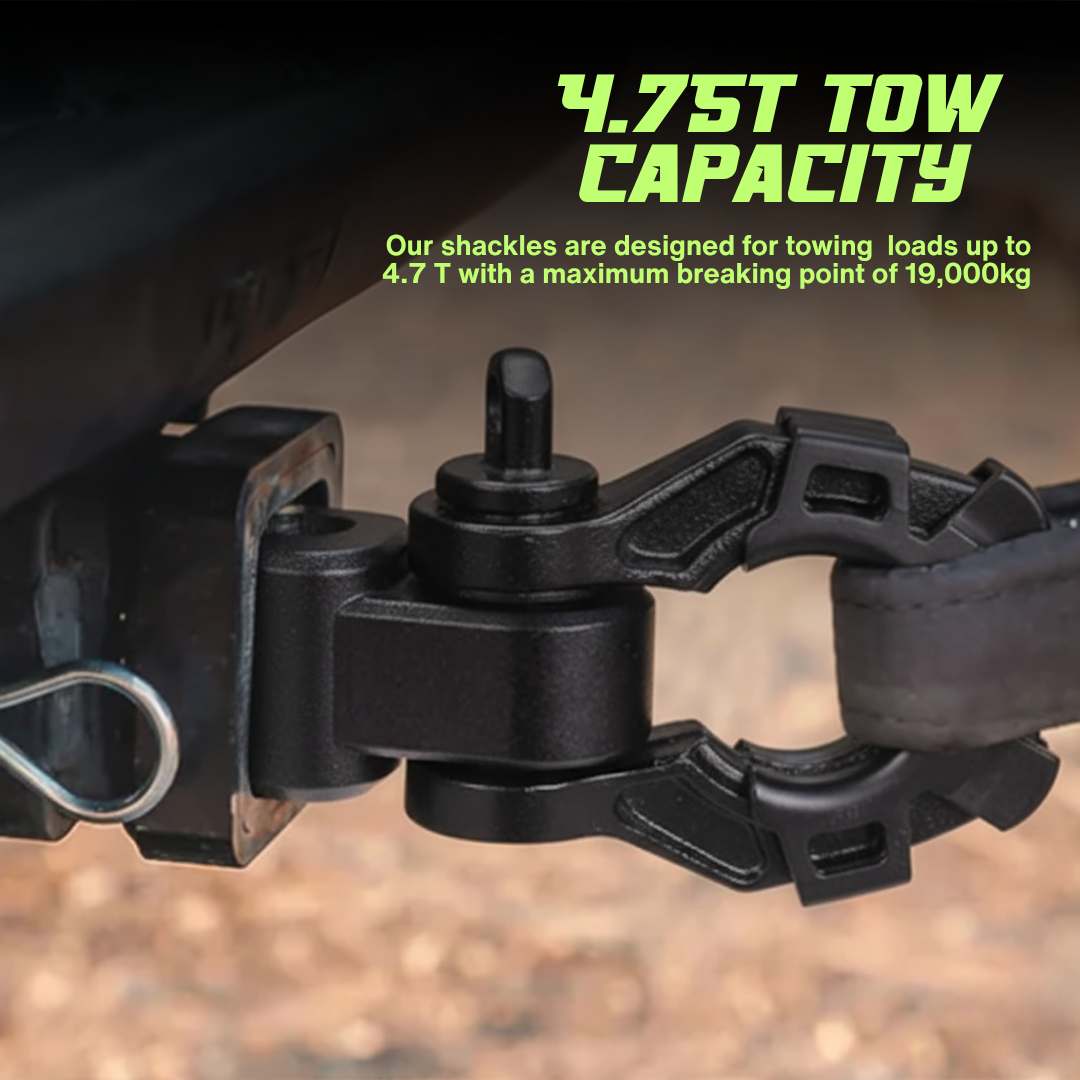
Soft Shackles (x2)
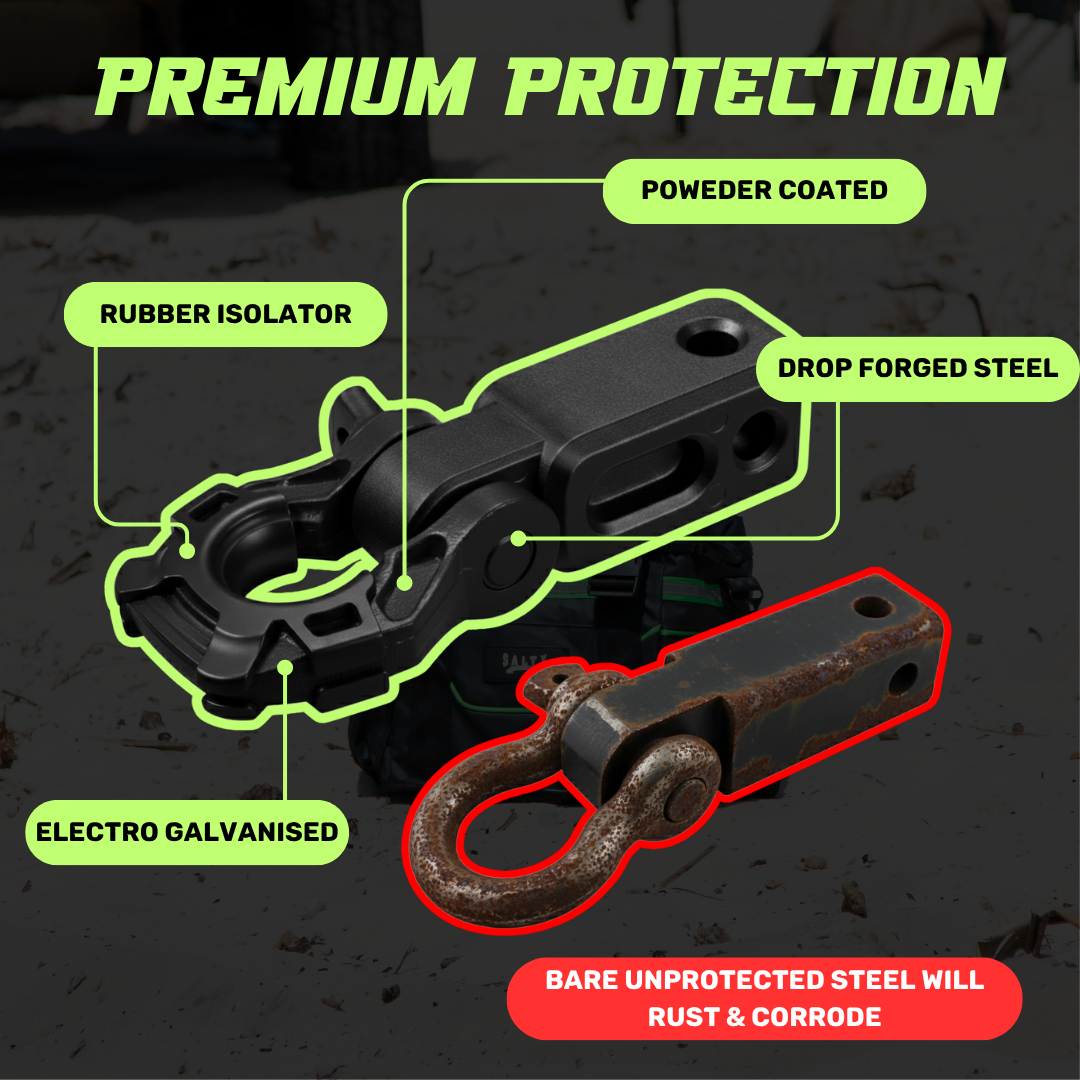
Hitch & Bow Shackle
Winch Dampener
Raptor Tyre Deflator Kit (Set of 4)
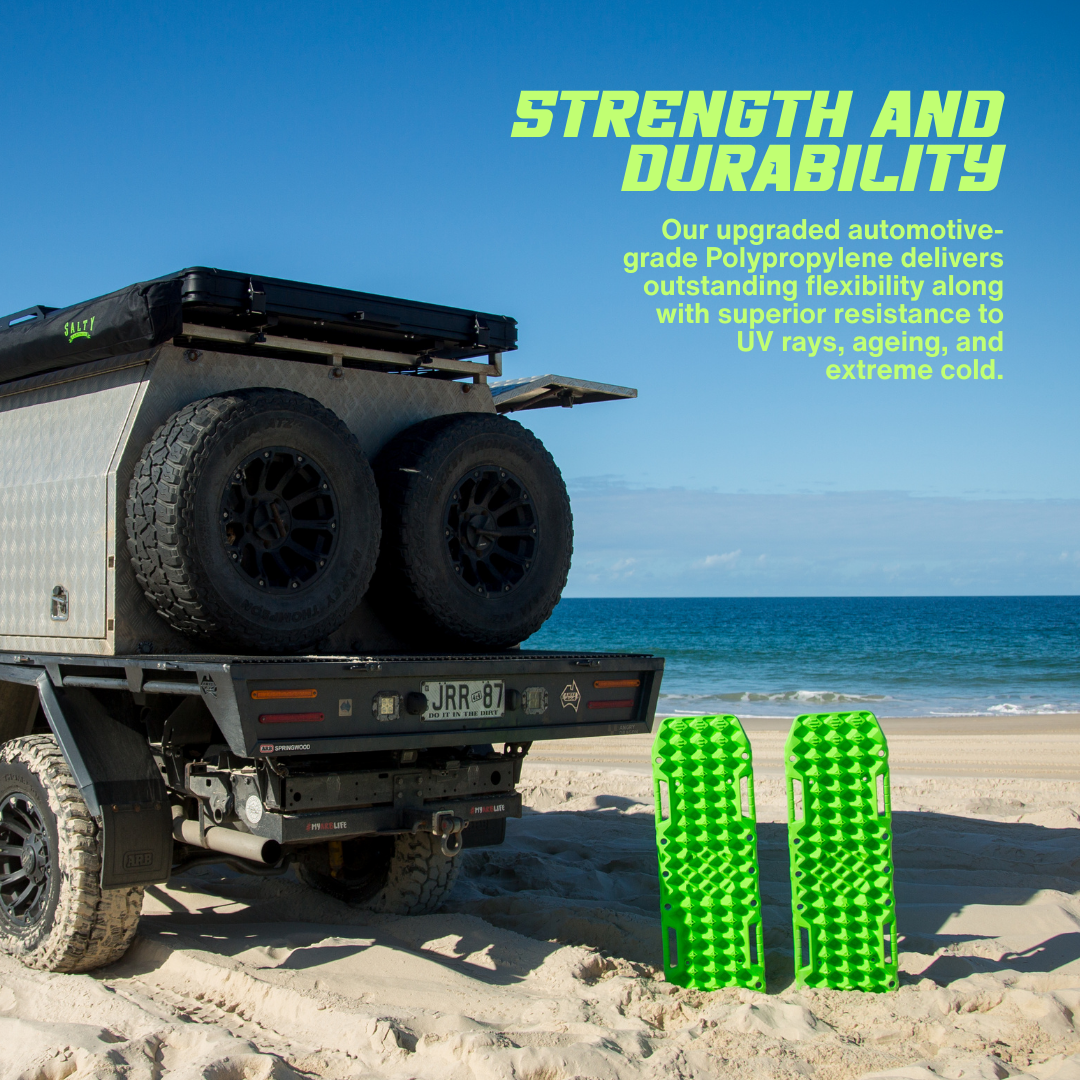
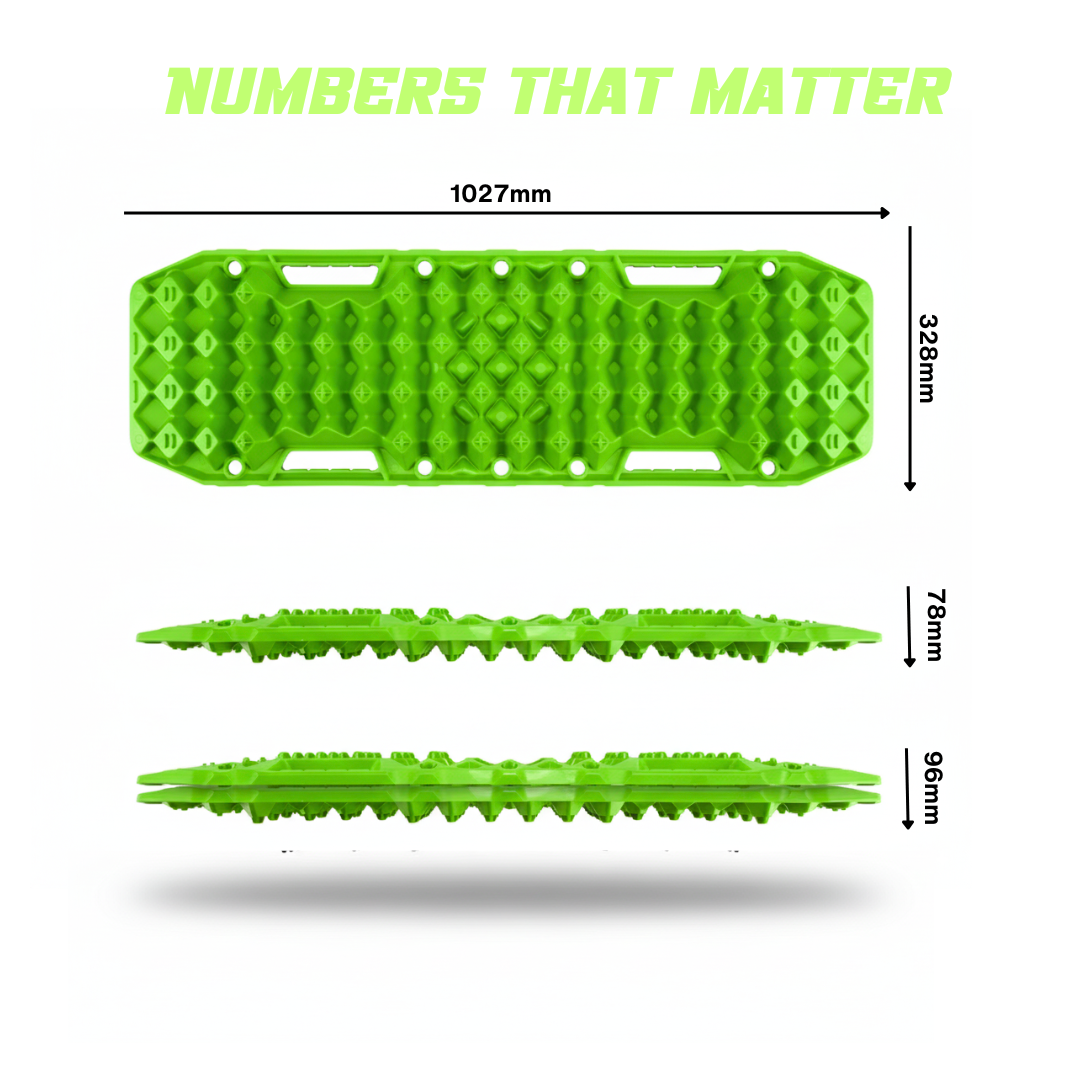
Raptor Recovery Tracks – Core Series (Pair)
Raptor Emergency Tool
Heavy-Duty Carry Bag
This bundle is classified as a Medium Bulky Item. We charge a flat-rate shipping fee of $20 Australia-wide, delivered to your door via Aramex or Allied Express
Location & Pickup:
Orders are dispatched from our warehouse at 2/14 Thomas Hanlon Court, Yatala, QLD 4207. Local pickup is available. Select “Pickup” at checkout.
Dispatch Time:
Orders are typically dispatched within 1–3 business days. You’ll receive tracking details and contact information from the carrier regarding delivery.
Delivery Times (Australia)
International Shipping: Rooftop tents cannot be shipped internationally.
Carriers: We use Allied Express or Blue Star for rooftop tents and Australia Post/Aramex for smaller items.
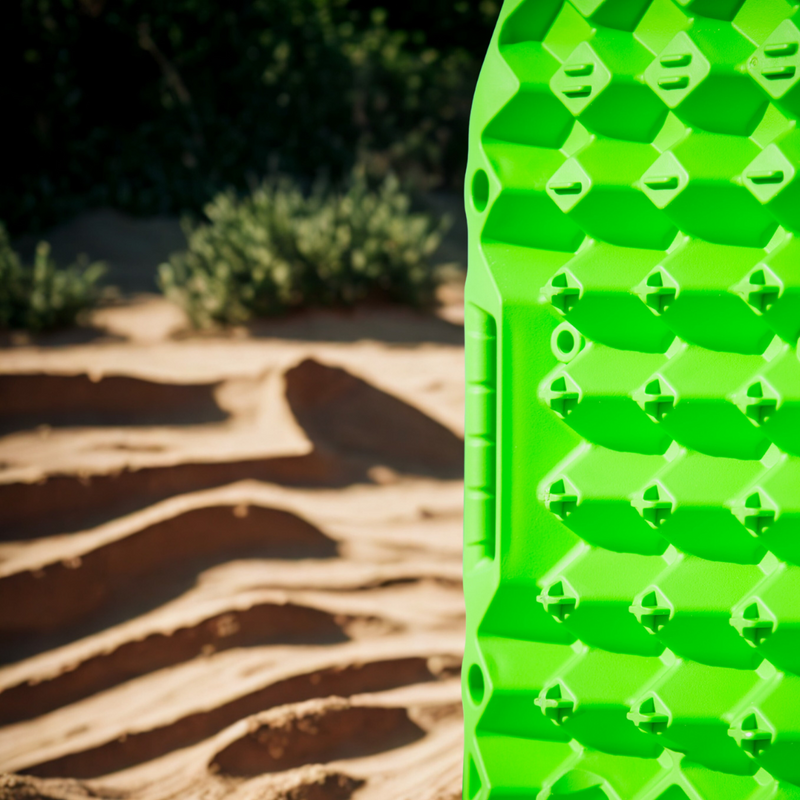
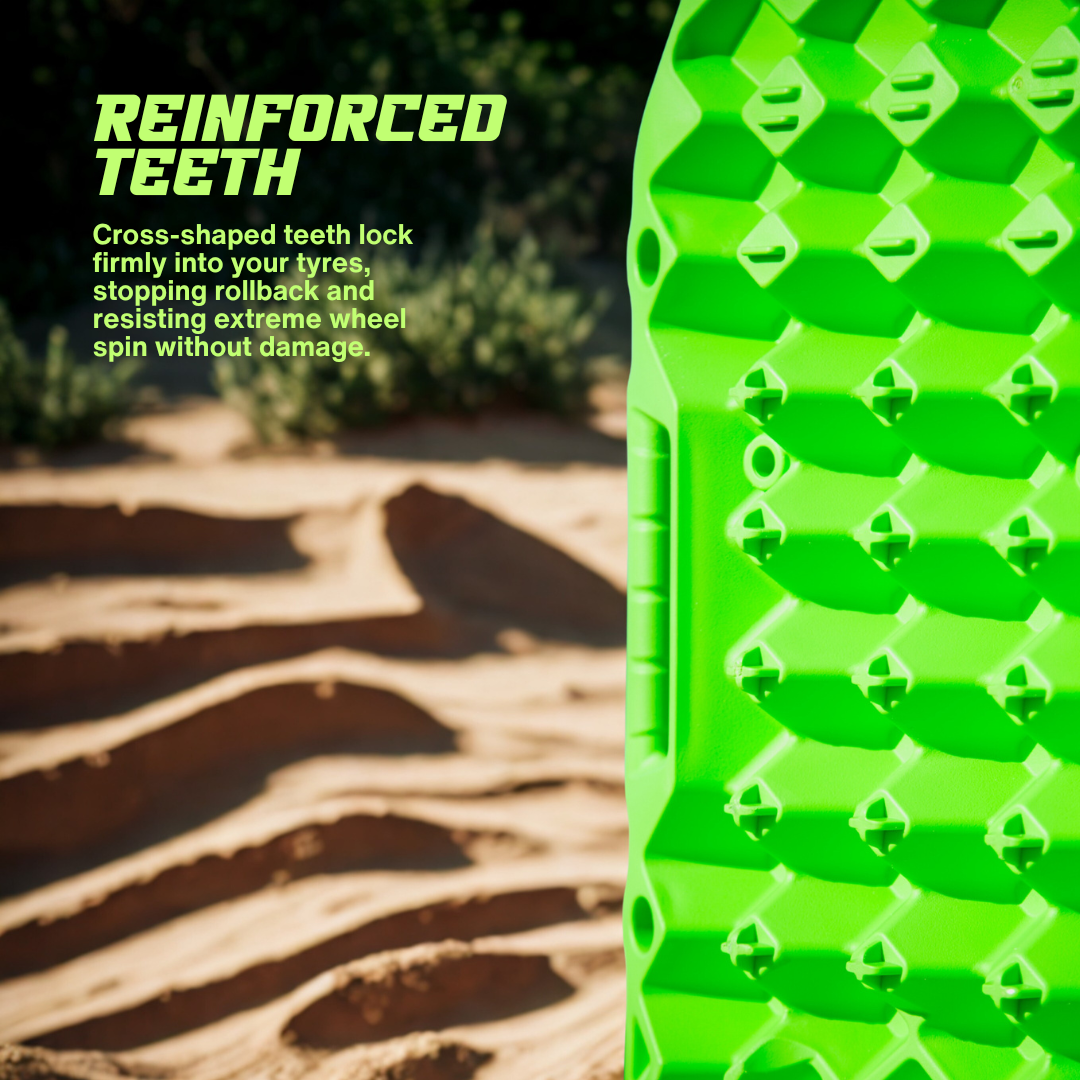
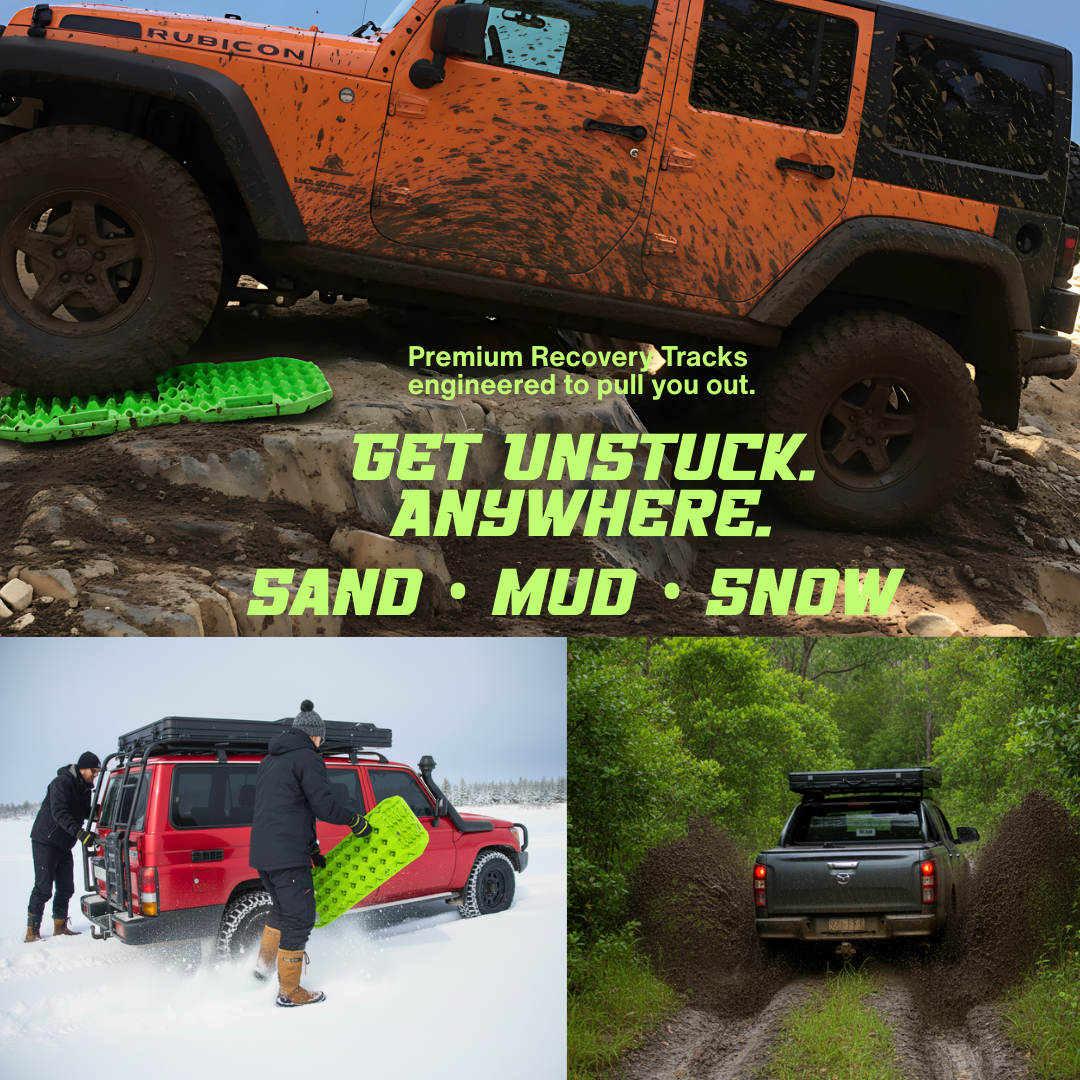
Aggressive diamond-shaped teeth lock into your tyre tread and resist melting under wheel spin, keeping you moving in sand, mud and snow.
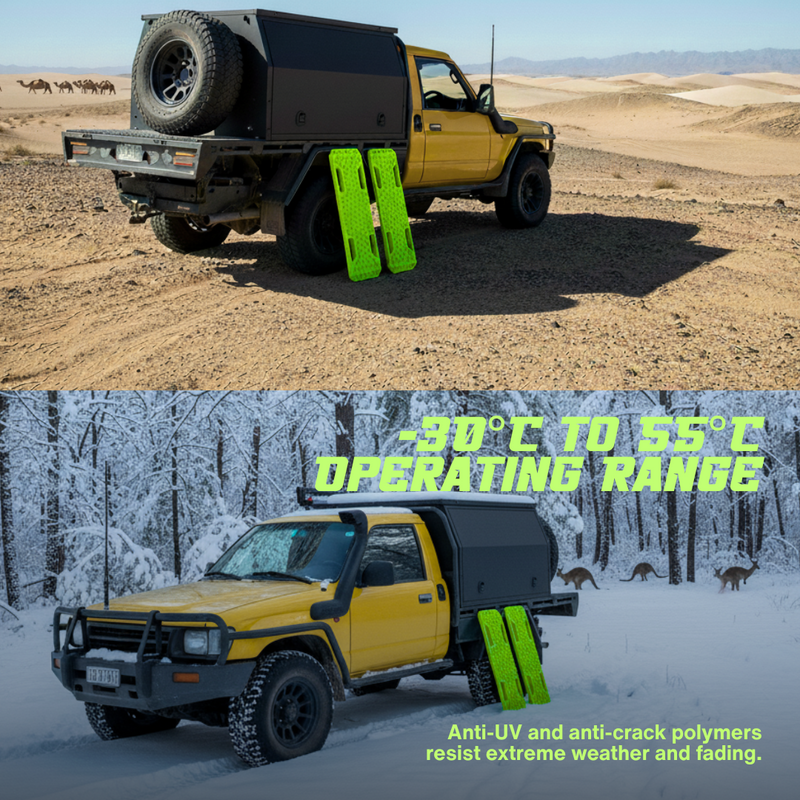
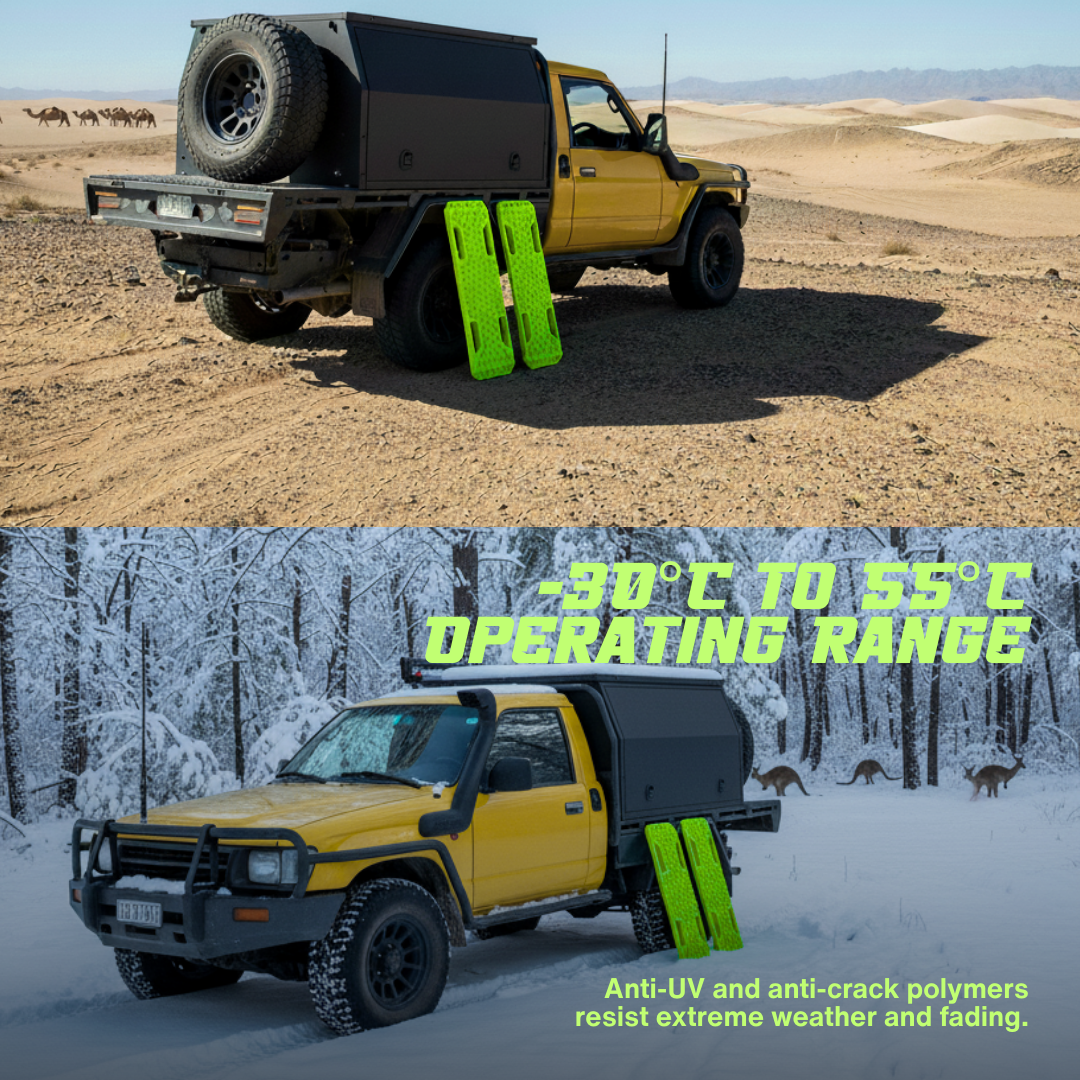
UV-stabilised polypropylene shrugs off harsh climates, tested from –30 °C to +55 °C so it stays tough in snow, sand or blazing summer heat.
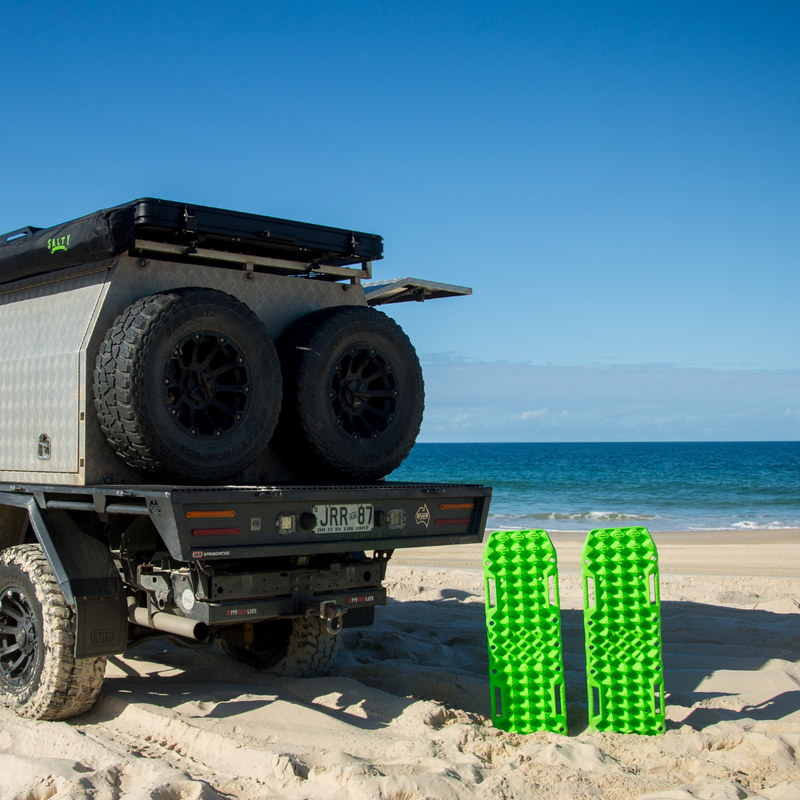
The bright green finish makes your boards easy to see and retrieve in sand, mud or low-light conditions...no more lost gear.
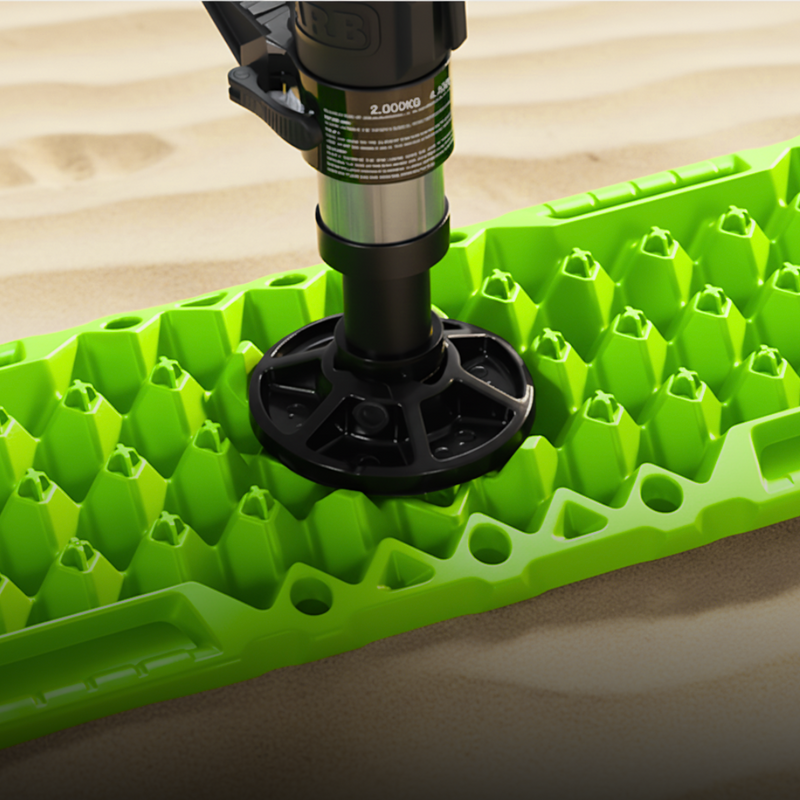
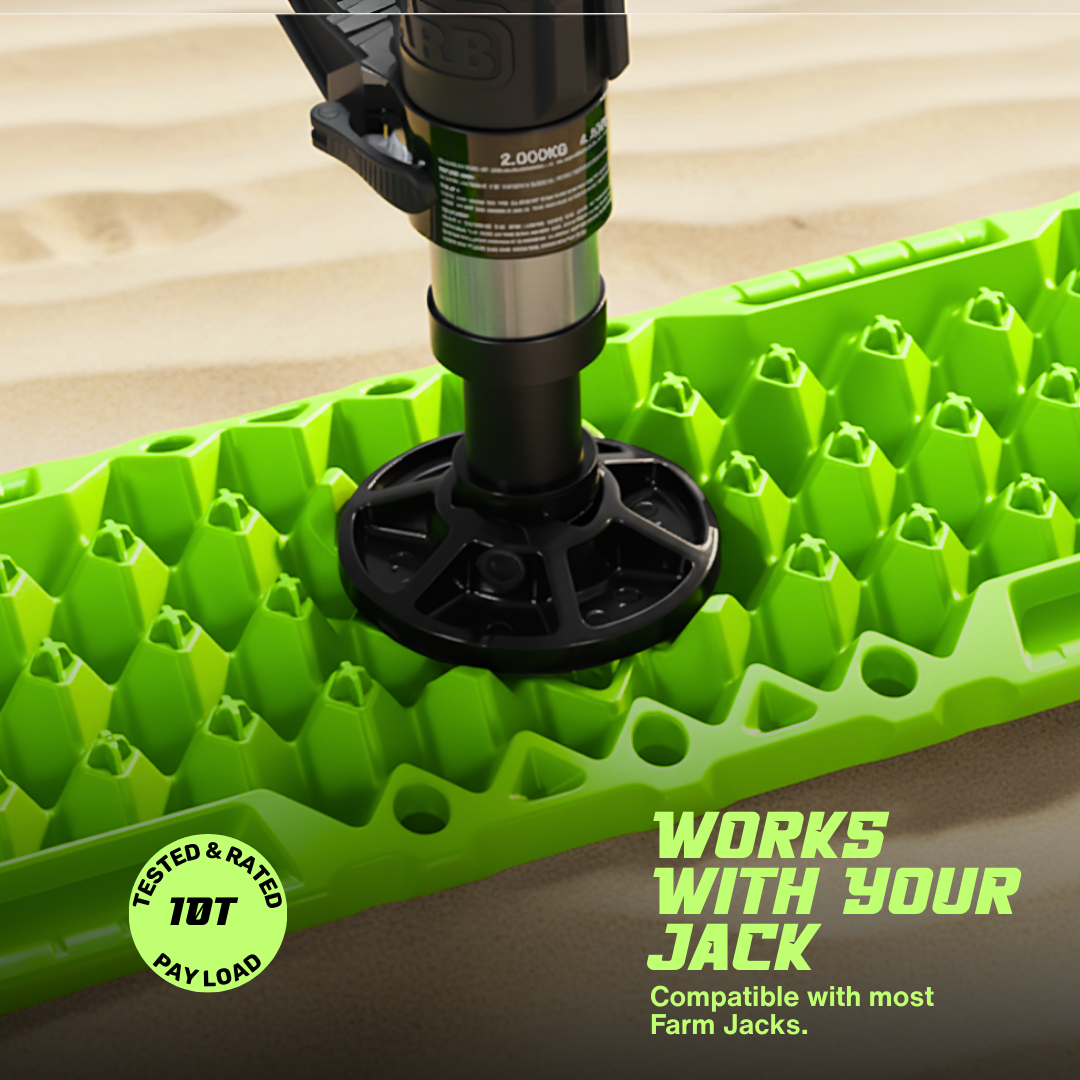
Doubles as a stable base for most farm jacks, spreading load evenly on soft terrain to help you lift your vehicle safely.
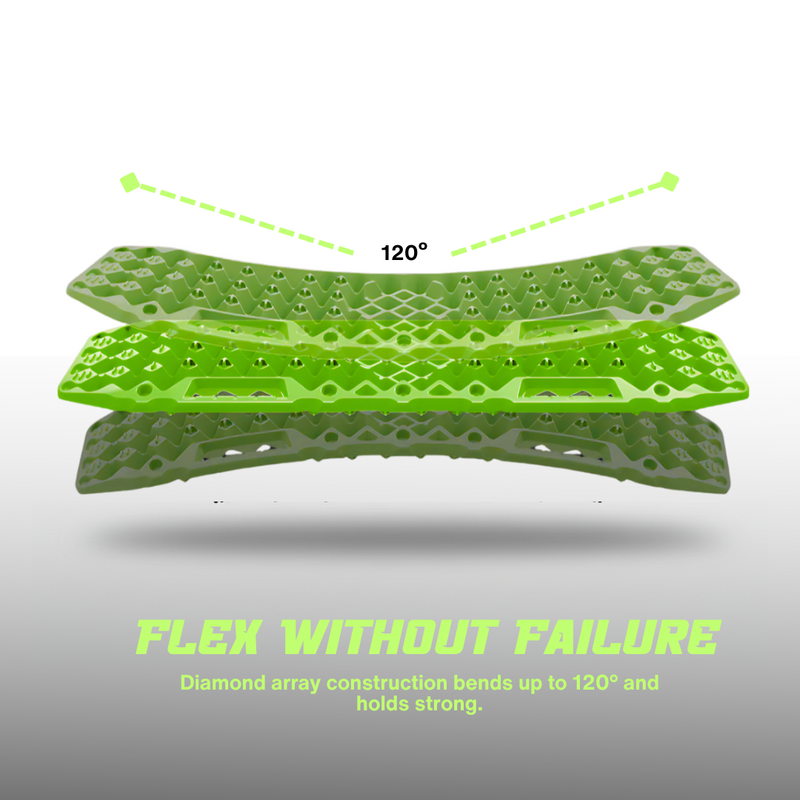
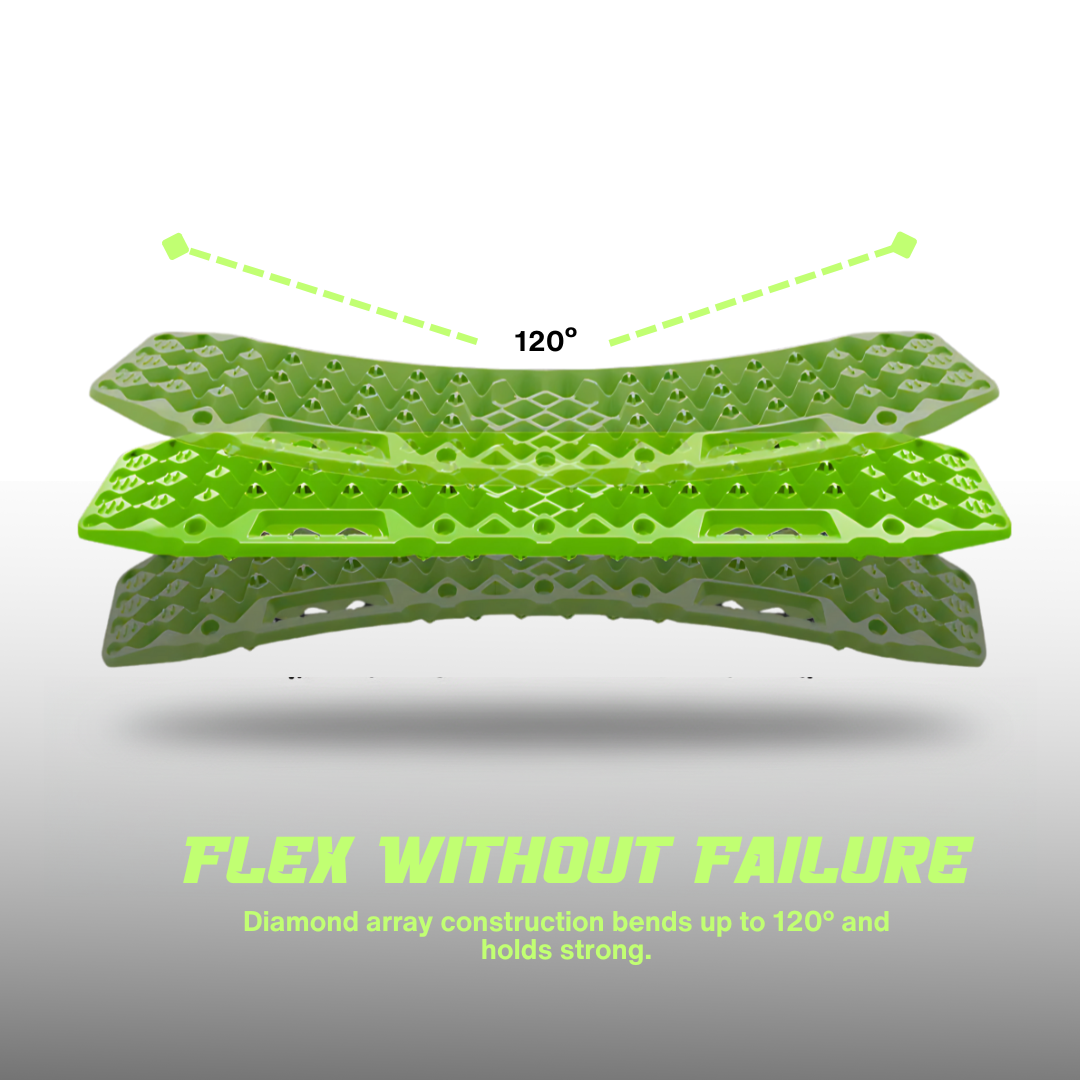
Interlocked diamond array design bends up to 120° under load without cracking, distributing weight and preserving the board’s structural integrity.
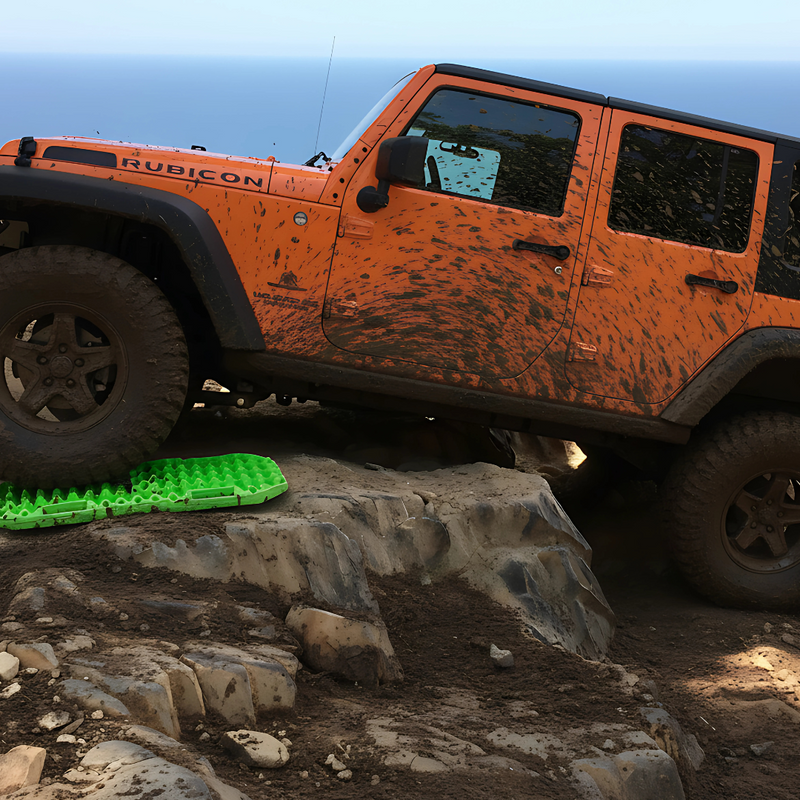
Get unstuck fast with UV-stabilised polypropylene boards engineered for sand, mud and snow. Fixed star-knob teeth bite hard into your tyres for reliable traction.
The Raptor Recovery Kit (9pc) packs every essential tool you need to tackle tough terrain and get back on track fast. Built with 10T-rated tracks, a 13,000kg rope, and precision brass deflators, it’s your complete off-road recovery solution in one rugged bundle.
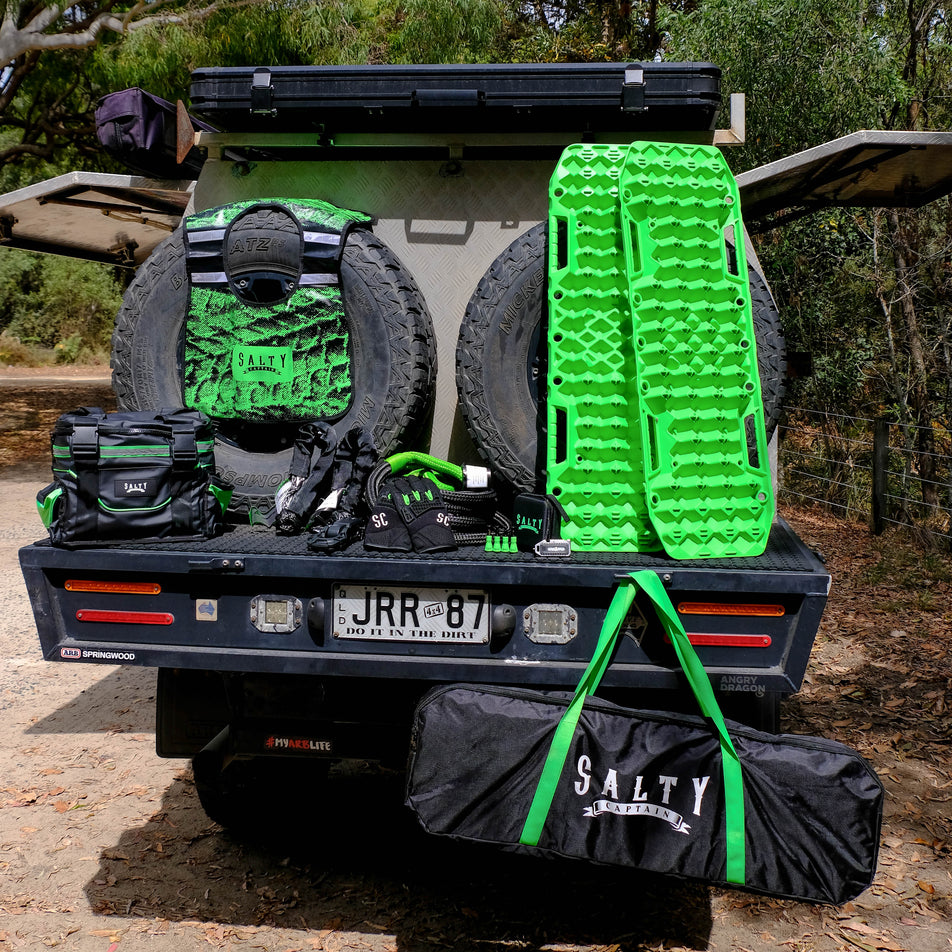
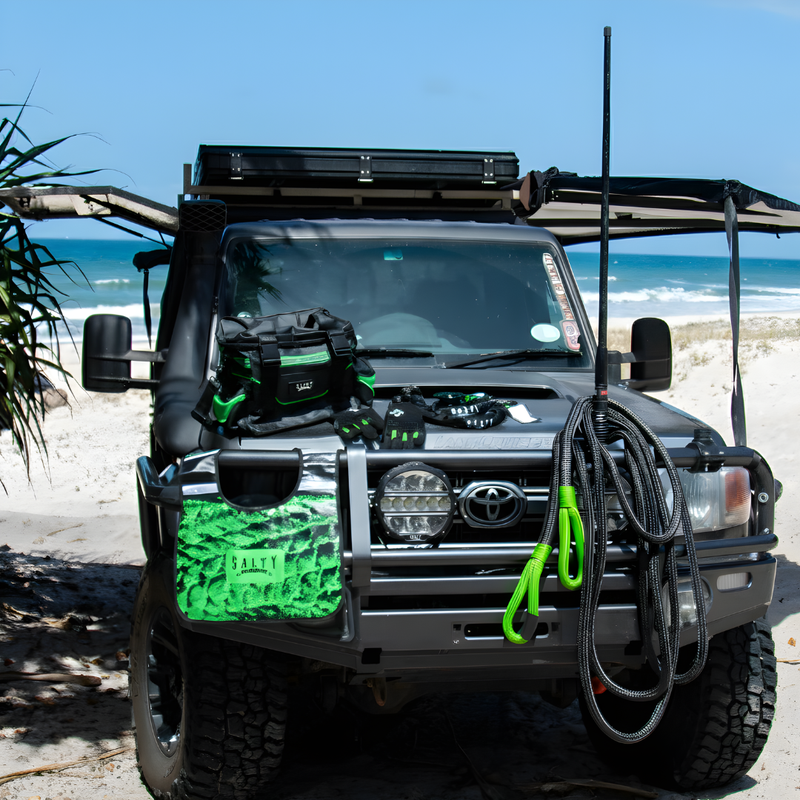
Before every trip, lay out all nine components and thoroughly inspect for frayed straps, loose stitching, cracked coatings, or worn shackles to ensure safe recoveries.
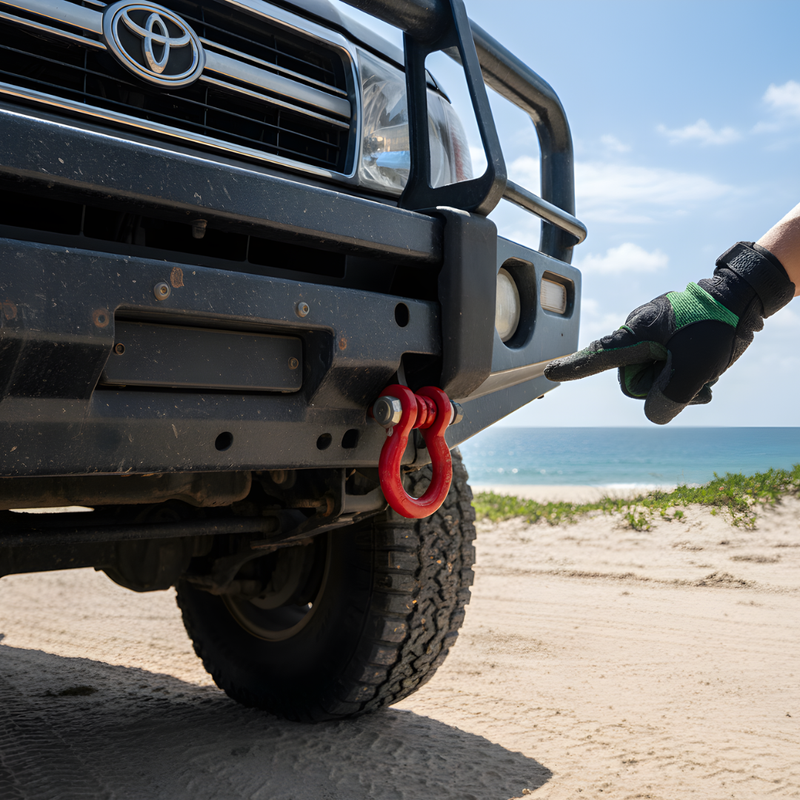
Always use manufacturer-rated recovery points on both vehicles. Never connect straps to tow balls, tie-down loops, or untested mounts, they can fail under load.
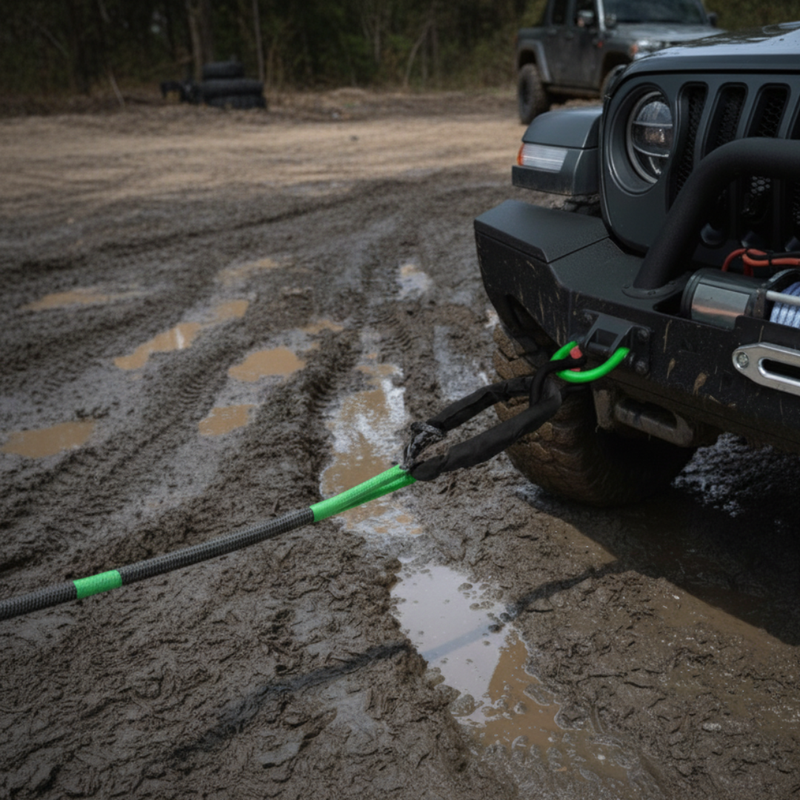
Feed the soft shackle through the recovery point, loop the knot through the braided eye, and hand-tighten only. Avoid tools or over-tightening to prevent damage.
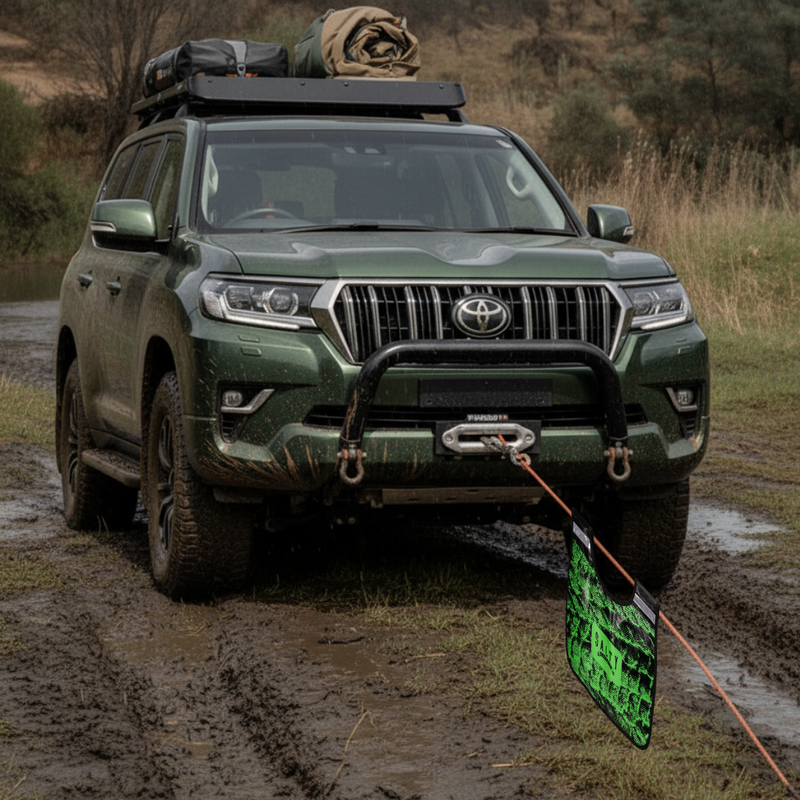
For a snatch recovery, connect the snatch strap securely between vehicles. For a winch recovery, attach the winch extension strap to your anchor or tree protector.
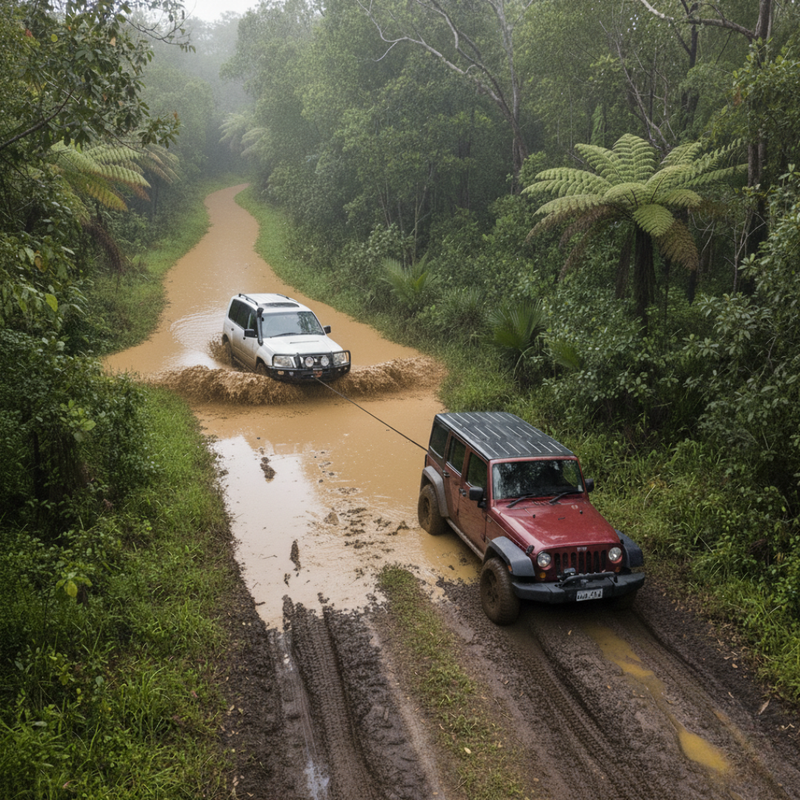
Keep all bystanders clear before recovery. Apply tension slowly and steadily—avoid sudden jerks or acceleration to reduce stress on straps, shackles, and vehicle mounts.
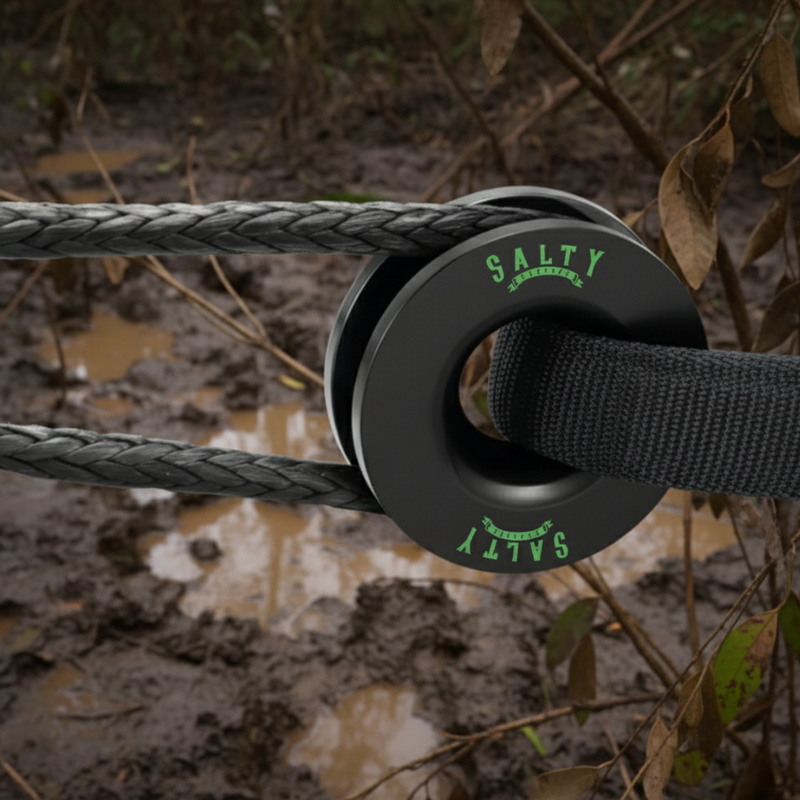
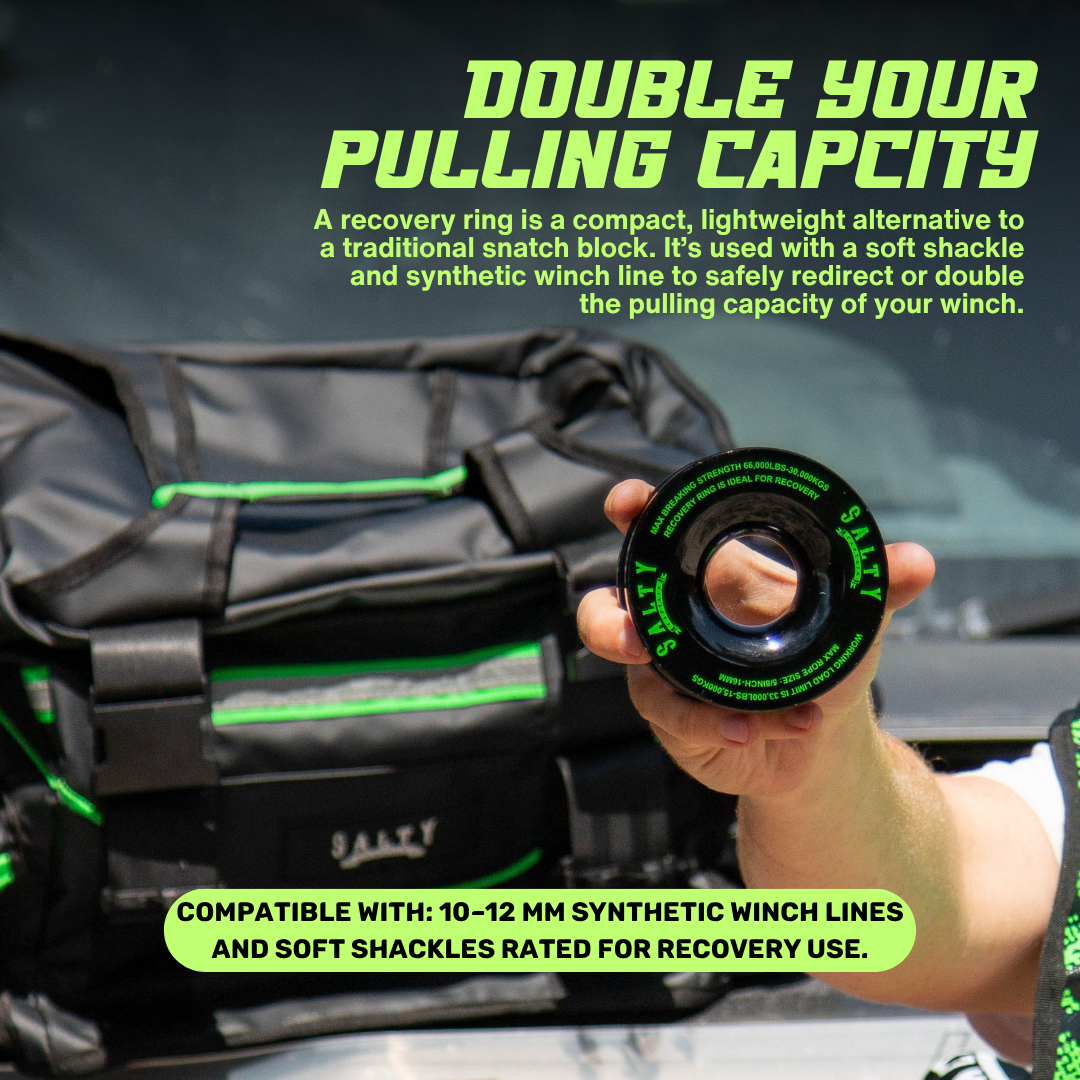
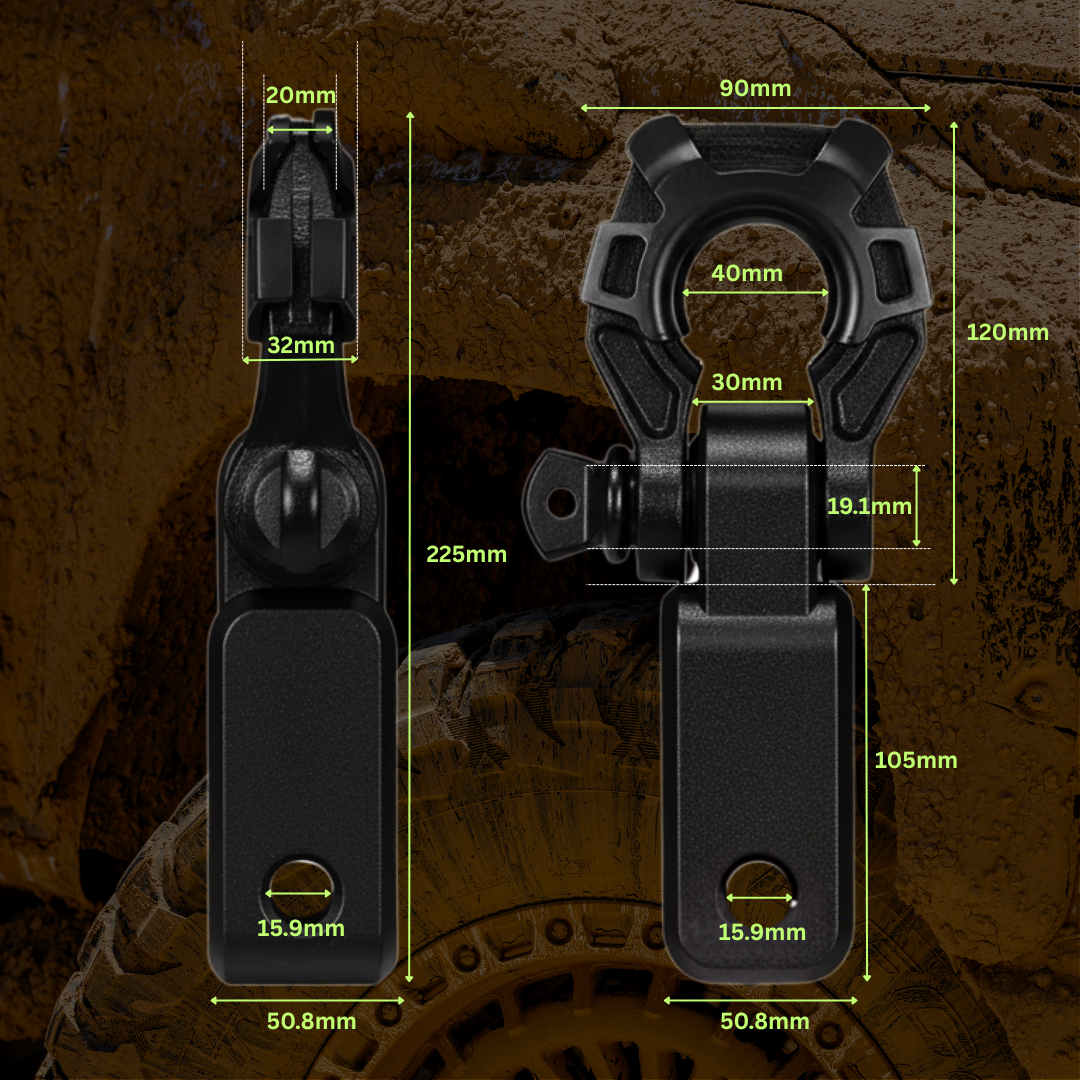
Attach the CNC 6061-T6 aluminium recovery ring to an anchor point or tree protector using a soft shackle.
Feed the synthetic winch rope through the ring to create a smooth directional change or double-line pull.
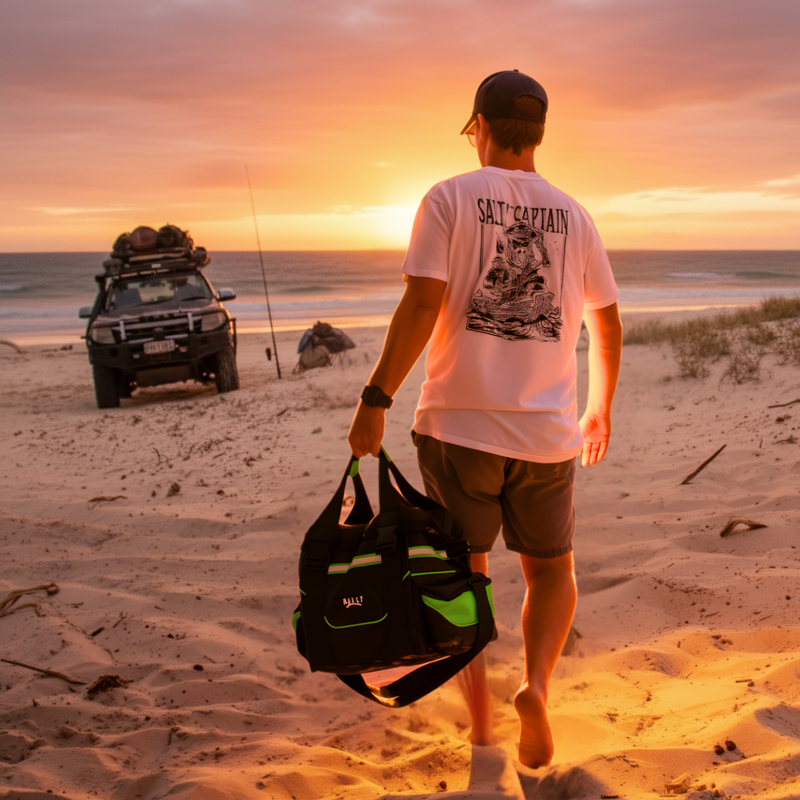
After recovery, disconnect all straps and gear. Rinse off dirt or salt with fresh water, air dry completely, then store neatly in the carry bag.
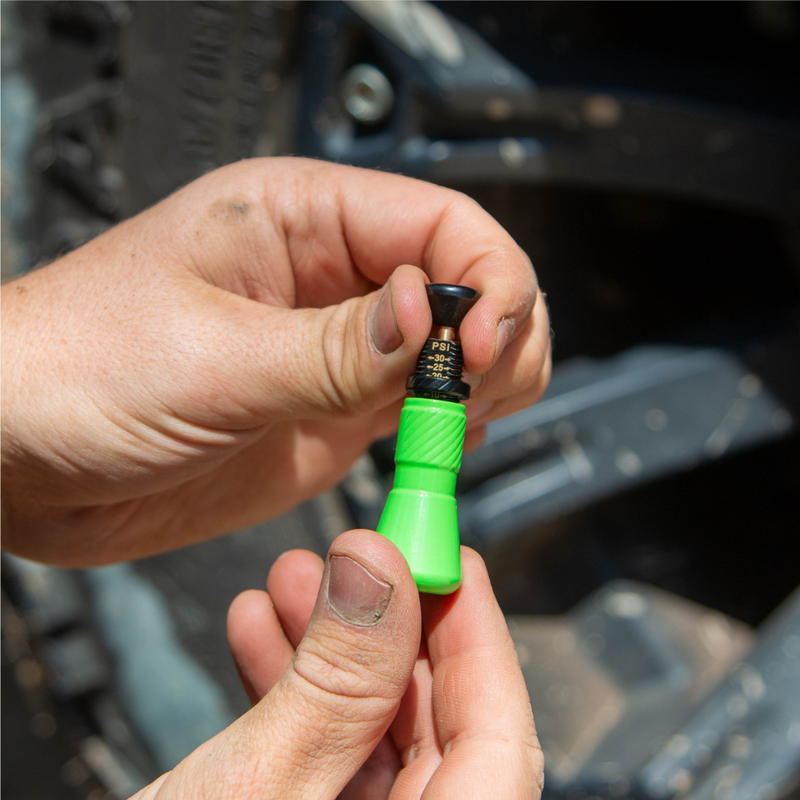
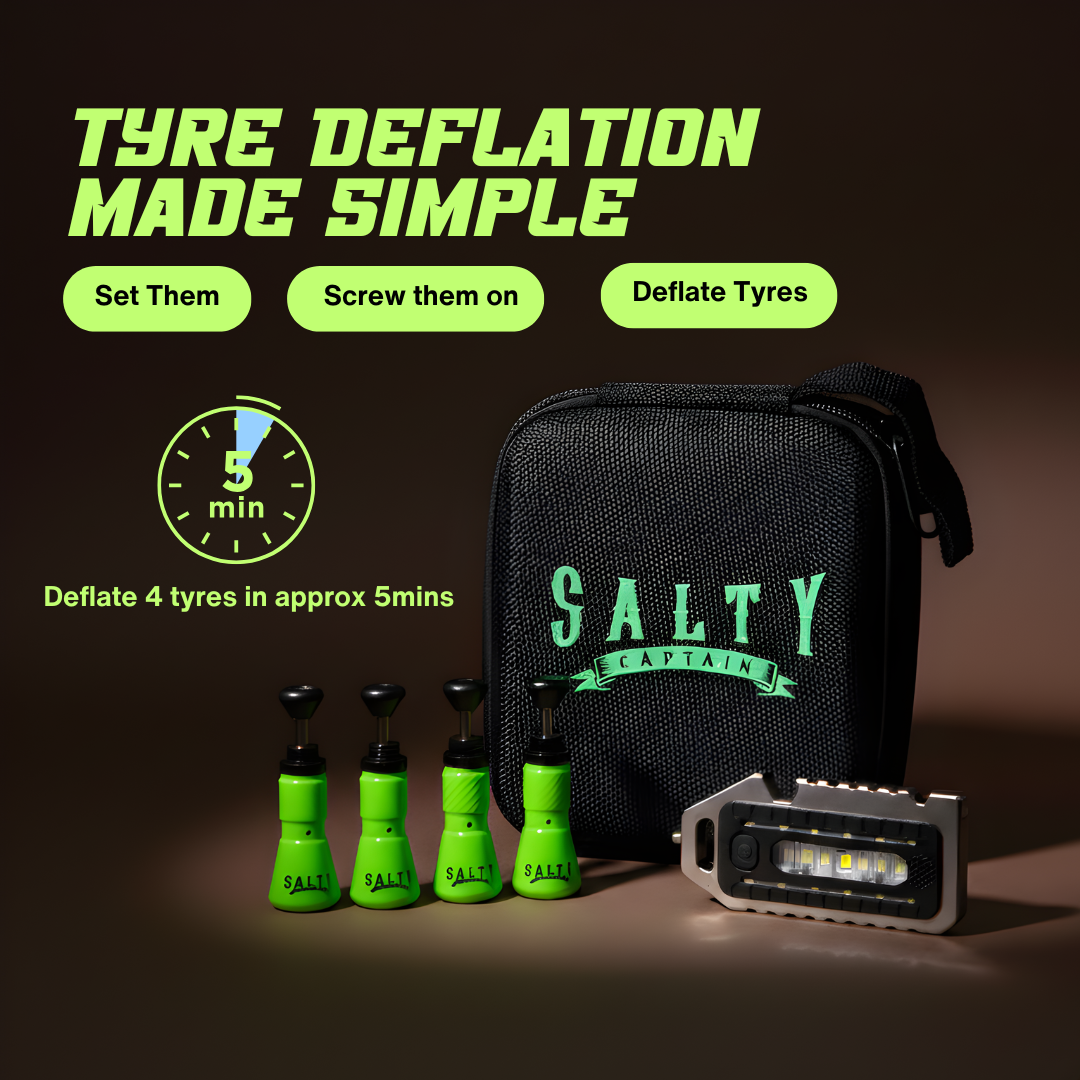
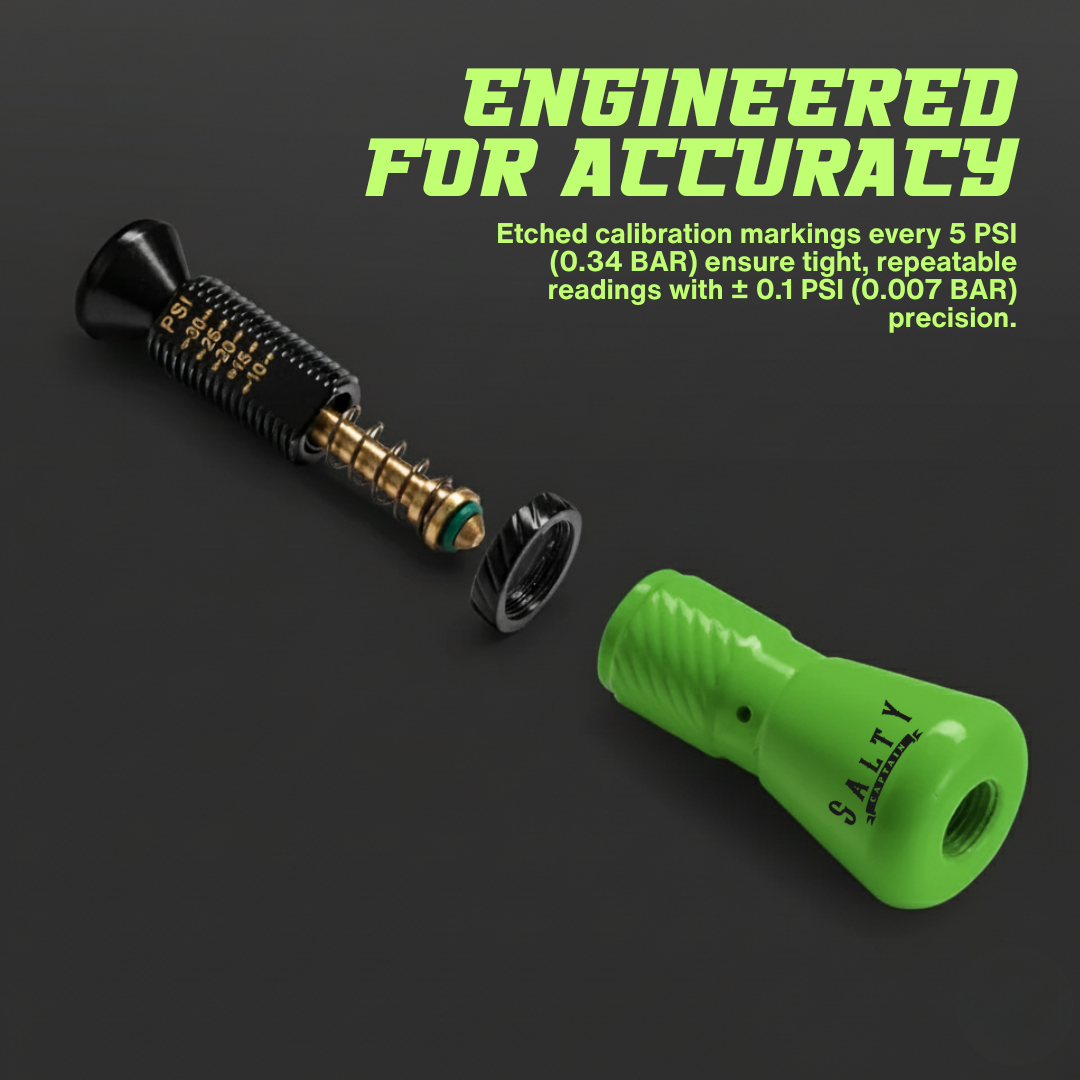
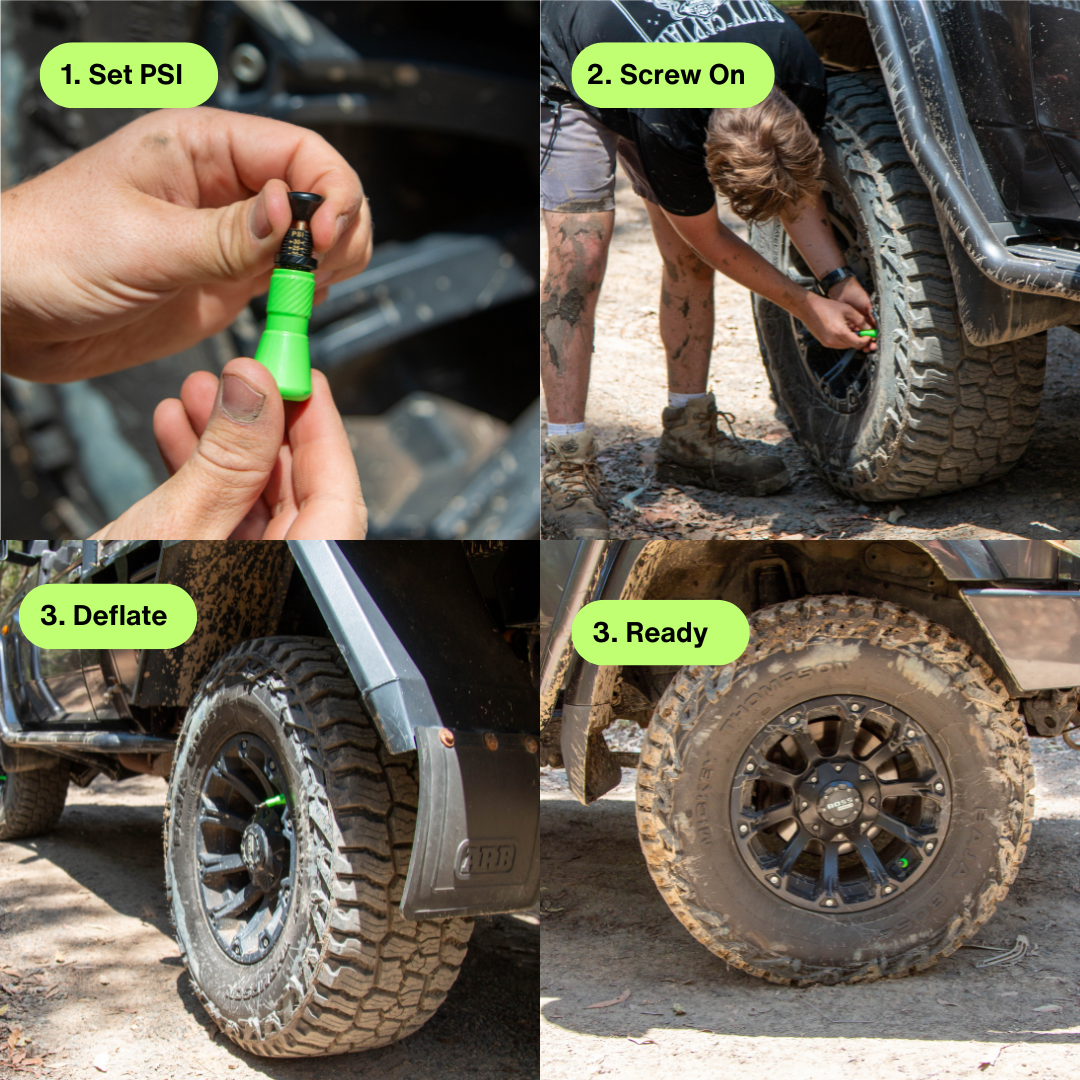
Rotate the adjustment cap to set your desired pressure. Each turn adjusts the release point — use your tyre gauge to confirm the exact PSI. Once locked in, the deflator will automatically stop releasing air at that pressure every time you use it.
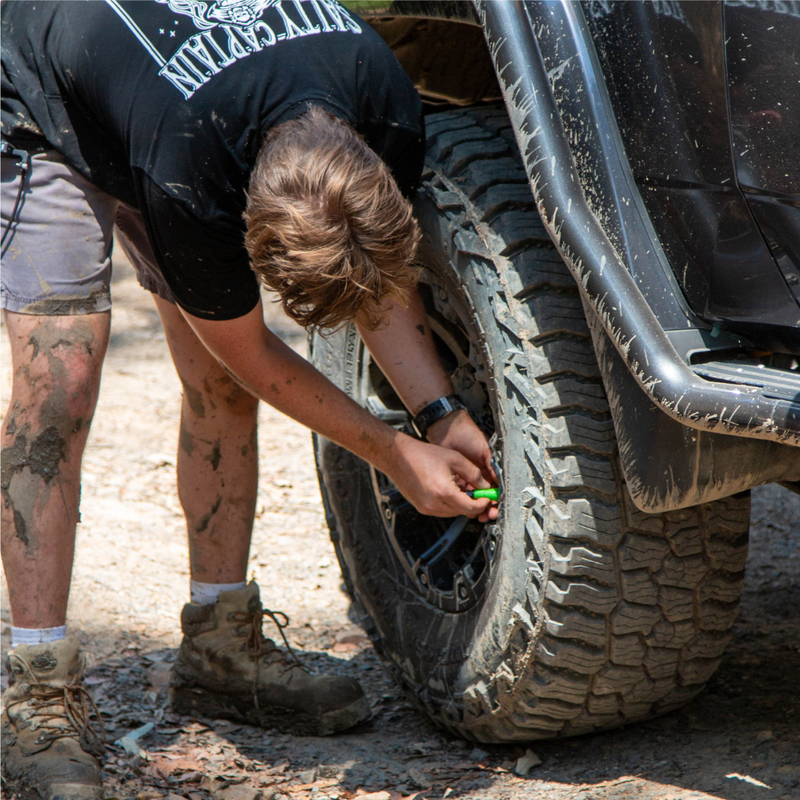
Attach the deflator to your tyre’s valve stem by hand until it’s firmly seated. You’ll hear the air begin to release immediately. Repeat this process on all four tyres for even pressure drop across the vehicle.
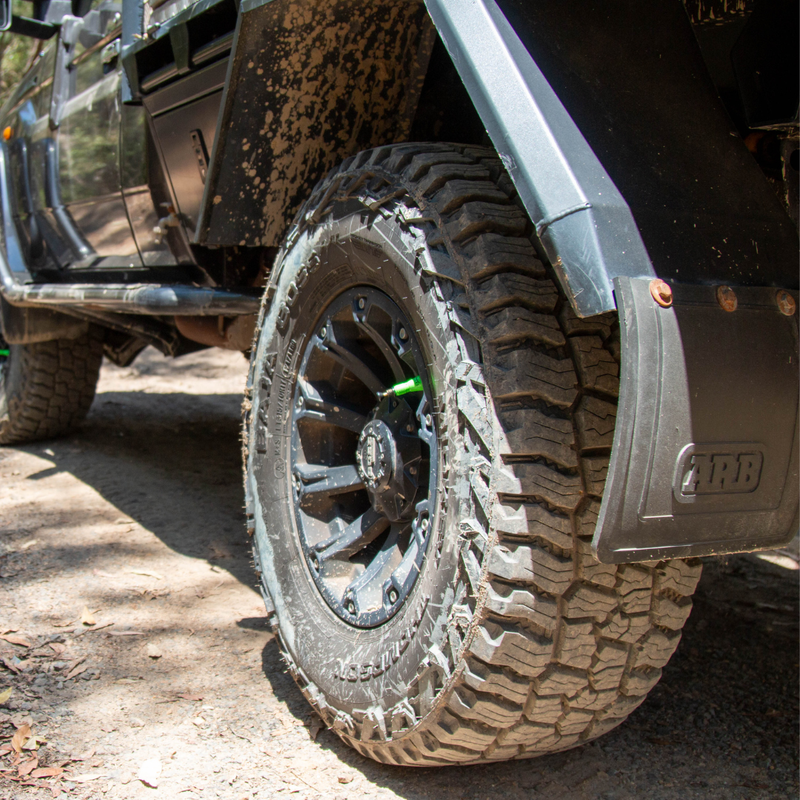
Once installed, the deflator will bleed the air down to your preset PSI without needing to stand and monitor it. You can move on to the next tyre or prep gear while it works.
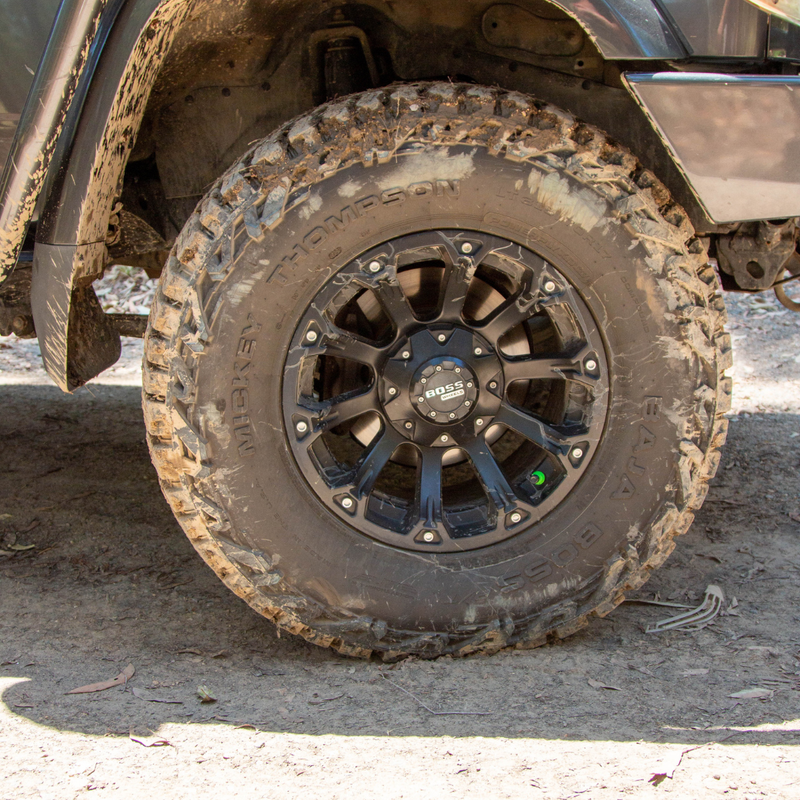
When the hissing stops, the tyre has reached the exact set pressure. Unscrew the deflator and replace the valve cap. Double-check each tyre with a pressure gauge before driving.
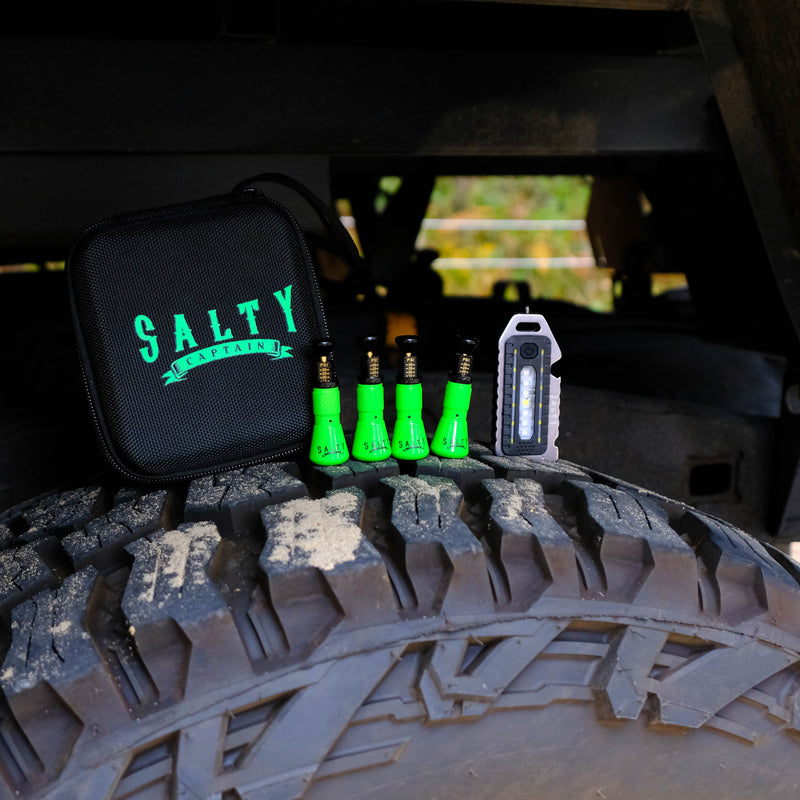
For sand, mud, or rocky tracks, most 4WDs perform best between 16–22 PSI, but always refer to your vehicle and tyre specs.
Find answers to common questions about our gear and company.
We're here to help you!
No, tyre deflators are designed only for use while the vehicle is stationary. Once the hissing stops and your tyres reach the set PSI, remove them and screw your valve caps back on. Driving with deflators still attached can cause them to fly off, let sand or saltwater into the valve, and lead to slow leaks or complete air loss.
Keep them clean and dry inside the provided carry case. A small dab of silicone spray on the spring thread every few months helps prevent corrosion.
Yes, they fit any standard Schrader valve, so they’re perfect for trailers, campers, or side-by-sides. Just make sure your pressure range is within 10–30 PSI.
Slight variances can occur due to temperature, altitude, or slight movement in the locking ring. Check your first run with a gauge, then fine-tune the adjustment cap if needed. Once locked, they’ll stay consistent.
You don’t have to, but using all four saves time; they automatically stop at the preset PSI, so you can do all tyres in one go while packing gear or airing up the compressor.
The Raptor Recovery Kit is backed by Salty Captain’s 1-year Warranty, covering manufacturing defects and rated performance when used correctly and safely.
The heavy-duty carry bag measures 560 × 300 × 300 mm. It’s compact enough for most rear drawer systems or under-tray storage, but large enough to keep all nine components neatly organised.
Yes. All Raptor recovery gear is available separately through Salty Captain, so you can replace worn components or upgrade specific pieces without buying a whole new kit.
Rinse each component with fresh water to remove dirt, sand, and salt, then hang the straps to dry fully before packing them back into the carry bag. Keeping gear clean and dry prevents mildew and extends its life.
Yes. The kit includes everything you need for snatch recoveries using another vehicle. The recovery ring and extension strap simply add more options if you have a winch setup.
The snatch strap is made from nylon with 20% stretch to create kinetic pulling power for stuck vehicles. The winch extension strap is polyester and non-stretch, used to extend your winch line when trees or anchors are further away.
Absolutely. Every strap and shackle in the kit meets or exceeds AS/NZS 4345 and 4346 load-rating standards, ensuring reliable, tested strength for real 4WD recoveries.
Yes. The polypropylene body can be recycled, and the stainless steel plates can be separated for metal recycling. This makes them more sustainable compared to one-piece boards that end up in landfills.
Yes. While they do not come with mounting brackets, the boards are compatible with most universal recovery board mounts. Many off-roaders choose to secure them on roof racks or tray racks for easy access.
No. They are ready to use straight out of the box. However, it is a good idea to familiarise yourself with fitting the teeth and tools before your first trip.
It is recommended to apply a steady, moderate throttle. Spinning wheels aggressively can wear the teeth prematurely. Smooth acceleration allows the boards to grip properly and push you out without damage.
Attach the nylon leashes to the ends of the boards before use. This makes it easy to pull them out of mud, sand, or snow once recovery is complete, without having to dig around.
Simply hose them down with fresh water after exposure to mud, sand, or salt. For stubborn debris, a soft brush works best. This keeps the teeth and traction plates clear for the subsequent recovery.
No. The PA66 teeth and stainless steel traction plates are designed to grip without puncturing or damaging tyres. They provide aggressive traction while maintaining tyre safety.
Best bit of kit.
Solid kit for the price.
Better than my old ARB kit.
Absolute beast of a kit.
Fast to use in a pinch.
Fast Shipping
Australia Wide
Easy Returns
No questions asked
4.8 Rating
Based on 2,500+ reviews
Secure & Safe Checkout
Our site uses SSL & 256-bit encryption
